How Do You Redo Kitchen Cabinets: Transform Your Space
Are your kitchen cabinets looking a little tired and worn out? Perhaps they’re outdated, or maybe they’ve just seen better days.
Don’t worry—you don’t have to replace them to breathe new life into your kitchen. Redoing your kitchen cabinets can transform your space without breaking the bank. Imagine walking into a kitchen that feels fresh, inviting, and uniquely yours. The secret lies in a few simple steps that anyone can follow.
Are you ready to discover how you can turn those old cabinets into a stunning focal point? Keep reading, and unlock the secrets to a kitchen makeover that will leave you—and your guests—in awe.
Planning Your Cabinet Makeover
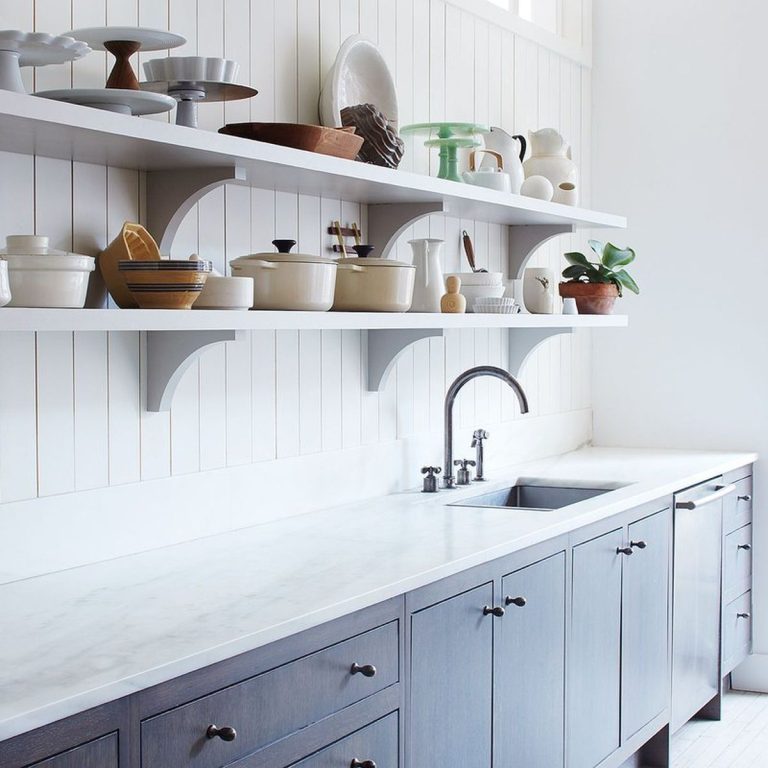
Transform your kitchen by redoing cabinets with fresh paint or new hardware. Choose colors that enhance your space. Sand, prime, and paint for a smooth finish.
Planning a kitchen cabinet makeover is an exciting journey. It transforms your space and breathes new life into your kitchen. A well-thought-out plan ensures a smooth process. It helps avoid costly mistakes and ensures satisfaction with the final result.Assessing Your Current Cabinets
Begin by evaluating the condition of your existing cabinets. Check for structural integrity and signs of wear. Are the doors and drawers functional? Note any repairs needed. Consider the layout of your kitchen. Does it meet your current needs? This assessment guides your decisions moving forward.Setting A Budget
Establishing a budget is crucial. It keeps your project financially feasible. Consider the cost of materials, labor, and any additional expenses. Prioritize your spending. Decide where to invest more and where to save. A clear budget reduces stress and keeps your makeover on track.Choosing A Style And Finish
Decide on a style that matches your taste. Do you prefer modern or traditional? Explore different finishes. Options include glossy, matte, or distressed. Consider how the style fits with your home’s decor. A cohesive look enhances the overall aesthetic. Select colors that complement your kitchen’s palette.Gathering Essential Tools And Materials
Redoing kitchen cabinets can transform your space without breaking the bank. Before diving into the project, gather essential tools and materials. This preparation ensures a smooth workflow and professional results.
Tools You Need
Having the right tools makes cabinet renovation easier. Here are essential tools:
- Electric Drill:Speeds up removing and attaching hardware.
- Screwdriver Set:Handy for screws in various sizes.
- Sanding Block or Electric Sander:Smooths cabinet surfaces.
- Paintbrushes and Rollers:Essential for painting or staining.
- Drop Cloths:Protects floors from paint spills.
Materials To Consider
Choosing the right materials enhances the final look of your cabinets. Consider these:
- Wood Filler:Repairs any dents or scratches.
- Primer:Prepares surfaces for new paint.
- Paint or Stain:Updates cabinet color or finish.
- New Hardware:Refreshes knobs and handles.
- Sandpaper:Useful for surface preparation.
With tools and materials ready, you’ll breeze through your cabinet makeover. Your kitchen will feel new and inviting.
Preparing For The Renovation
Transforming kitchen cabinets starts with removing doors and hardware for a clean surface. Sanding helps prepare the wood for painting or staining. Apply primer and paint evenly for a fresh, polished look.
Preparing for the renovation of your kitchen cabinets can be both exciting and daunting. Proper preparation ensures that you achieve the best results, and it sets the foundation for a smooth renovation process. Before you dive in, take a moment to envision the transformation and gather your tools and materials.Cleaning And Removing Hardware
Start by cleaning your cabinets thoroughly. Use a gentle soap or a degreasing cleaner to remove any grime or grease. This step is crucial as it ensures the paint or finish will adhere properly. Next, remove all hardware from your cabinets. Keep the screws and handles in a labeled container to avoid any mix-ups. This is also a good time to decide if you want to replace or reuse them.Sanding And Smoothing Surfaces
Sanding is a vital step in preparing your cabinets for a new finish. Use a medium-grit sandpaper to remove the old finish and smooth out any imperfections. Be sure to sand in the direction of the wood grain to avoid scratches. After sanding, wipe down the surfaces with a damp cloth to remove dust. This ensures a clean slate for priming and painting. Have you ever thought about the satisfaction of a perfectly smooth surface under your paintbrush? It’s the little details that make the biggest difference.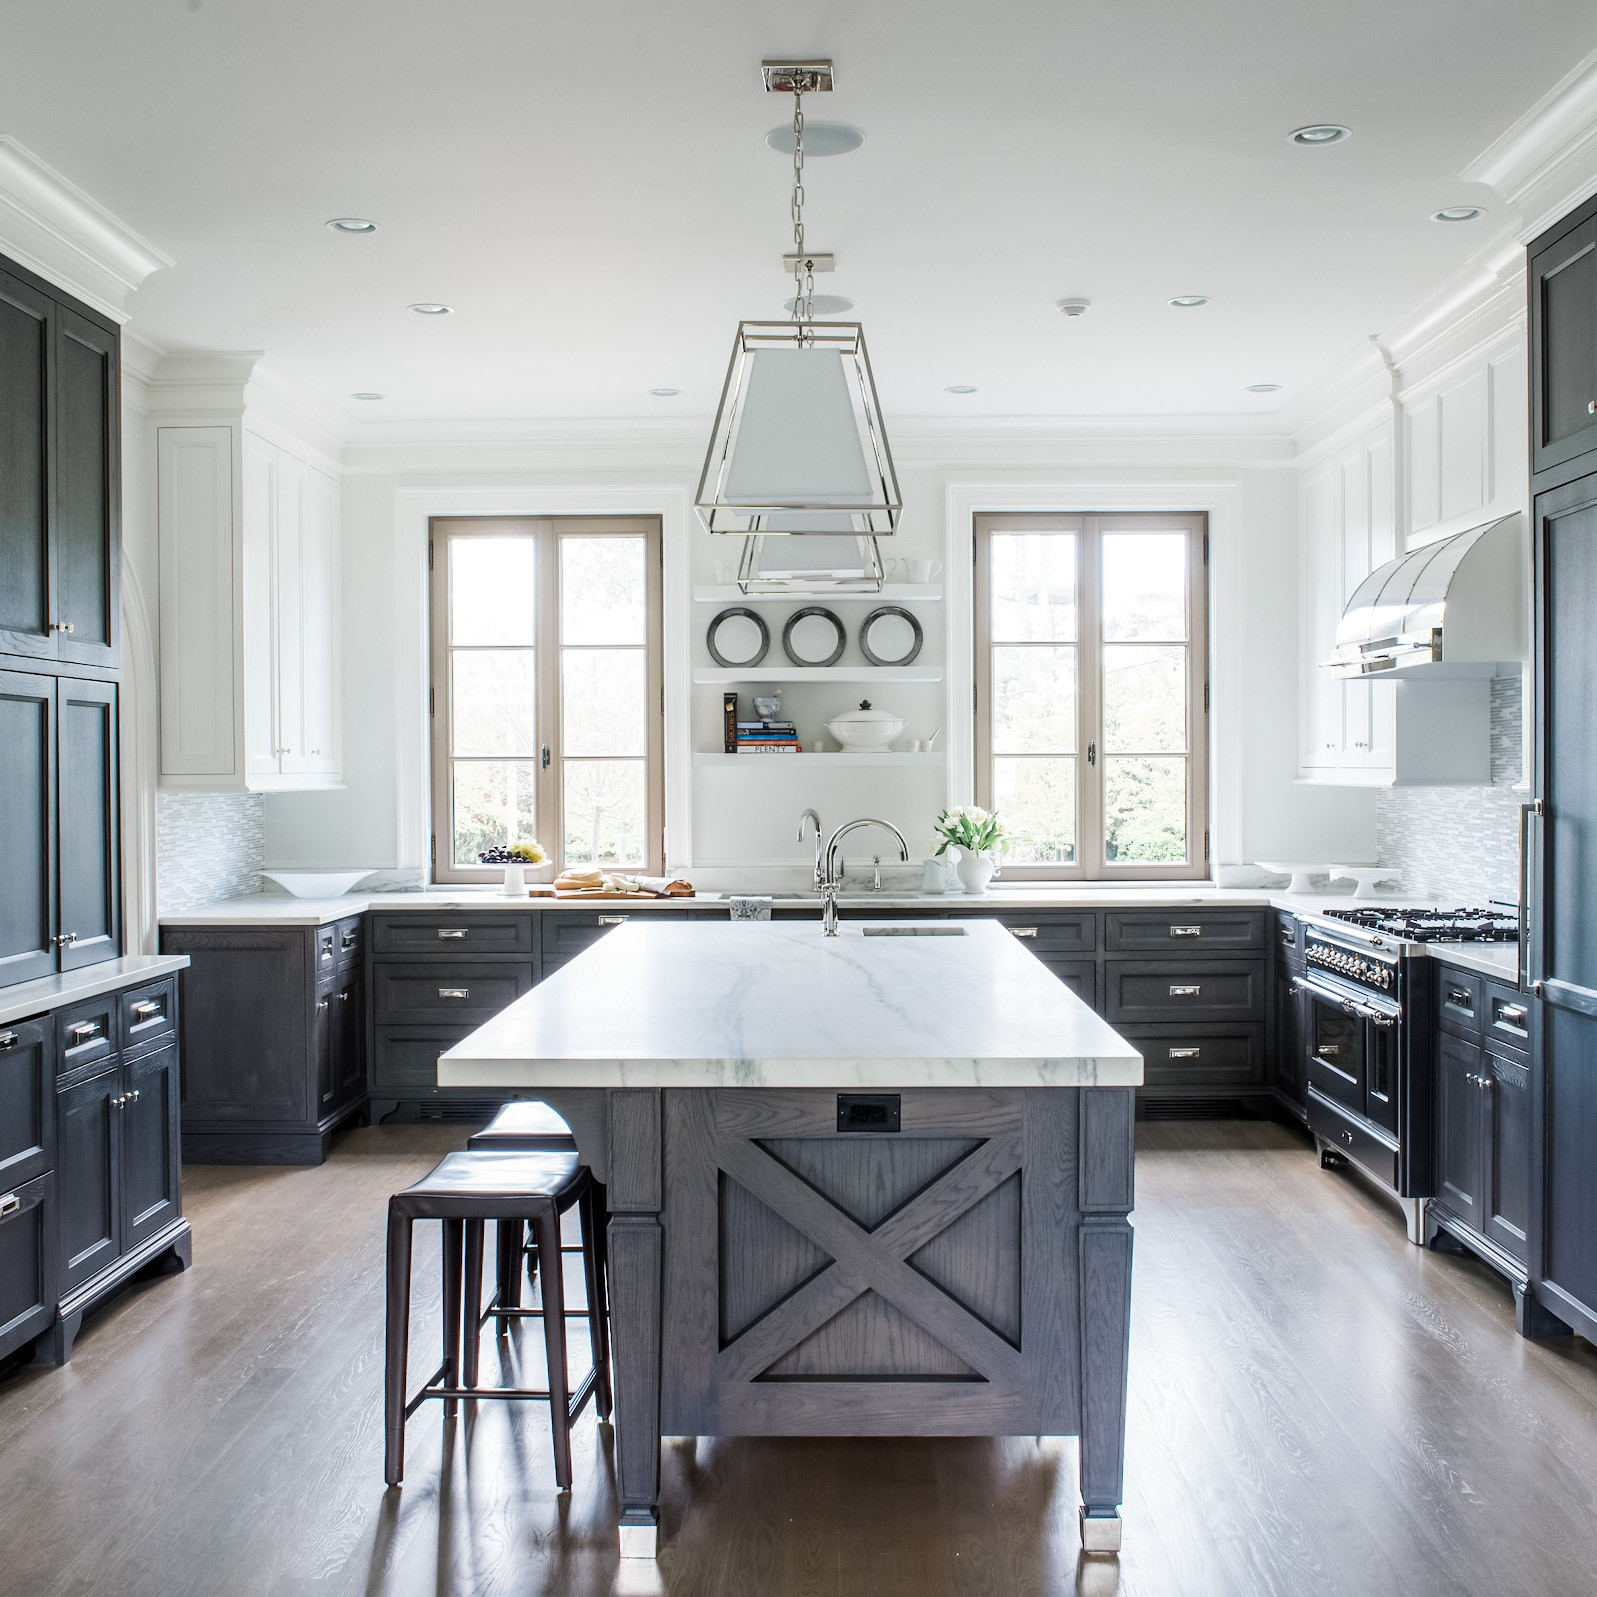
Credit: www.extraspace.com
Painting Or Staining Cabinets
Refreshing kitchen cabinets with paint or stain can brighten the space. Clean surfaces well before applying paint or stain. Ensure even coats for a smooth finish.
Painting or staining kitchen cabinets can transform your space. This process breathes new life into tired, old cabinets. It’s an affordable way to update your kitchen. Choosing between paint and stain depends on the look you desire. Both options have their unique benefits and challenges. Let’s dive into the steps involved in refreshing your cabinets.Selecting Paint Or Stain
The choice between paint and stain affects the final look. Paint provides a smooth, uniform appearance. It covers up wood grain and imperfections. Stain, on the other hand, enhances the natural wood texture. It shows off the wood’s unique patterns and knots. Consider your kitchen’s style and color scheme. Opt for paint if you prefer a bold, modern look. Choose stain for a warm, rustic feel.Applying Primer And Paint
Start by cleaning the cabinets thoroughly. Remove dirt and grease with a mild cleaner. Once clean, sand the surfaces lightly to smooth them. Apply a quality primer to prepare the surface for painting. Primer helps the paint adhere better. After the primer dries, apply the paint using a brush or roller. Use light, even strokes for a smooth finish. Allow each coat to dry completely before adding the next.Finishing With A Protective Coat
A protective coat extends the life of your paint or stain. It guards against scratches and moisture. Choose a clear polyurethane finish for durability. Apply it with a clean brush in thin layers. Make sure the surface is dry and dust-free before starting. Allow the protective coat to dry fully before using the cabinets. This step ensures your cabinets remain beautiful for years.Installing New Hardware
Transform your kitchen by redoing cabinets with new hardware. Choose styles that enhance your space and reflect your taste. Install knobs and handles to give cabinets a fresh look.
Installing new hardware can refresh your kitchen cabinets. It’s a simple way to add style and functionality. New knobs and handles can make a big difference. They are like jewelry for your cabinets. Choose wisely for the best impact.Choosing New Knobs And Handles
Think about the style of your kitchen. Is it modern or traditional? Choose hardware that matches this style. Consider the color and finish. Brass, chrome, or matte black can each create a different look. Keep comfort in mind. Test how the knobs feel in your hand.Properly Installing Hardware
Measure the distance between holes on your cabinet doors. Use a template to ensure accuracy. Drill holes carefully to avoid damaging the wood. Attach the hardware with screws. Make sure they are tight and secure. Check that each handle is aligned and level. Proper installation prevents loose knobs and ensures longevity.Reassembling And Final Touches
Reassembling cabinets involves attaching doors and hardware carefully. Final touches include cleaning and ensuring smooth operation. These steps enhance the kitchen’s appearance and functionality.
Reassembling and Final Touches After pouring your time and energy into transforming your kitchen cabinets, it’s finally time to piece them back together. This stage is crucial as it not only ensures functionality but also adds the finishing touches that make your kitchen truly shine. It’s like assembling a puzzle where every piece must fit perfectly to create a masterpiece.Reattaching Doors And Drawers
Start by carefully reattaching the cabinet doors and drawers. Ensure that hinges are aligned properly to prevent any misalignment. If you have installed new hardware, double-check that screws are tightened securely. Consider using a cordless screwdriver to speed up the process while ensuring precision. Are your doors closing smoothly? Adjust the hinges if necessary to achieve that perfect fit.Adding Decorative Elements
Once the doors and drawers are in place, it’s time to add some decorative elements. Think about adding stylish knobs or handles that complement the cabinet’s new color or finish. You might even opt for magnetic latches for a sleek, modern look. Adding a touch of decorative molding or trim can elevate the overall appearance, giving your cabinets a custom feel. Does your kitchen reflect your personality? Incorporating decorative elements allows you to express your style while adding functionality to your space.Maintaining Your Cabinets
Refreshing kitchen cabinets can give your space a new look. Sand the surfaces to remove old paint or finish. Apply primer for a smooth base, then choose a durable paint for a fresh coat.
Maintaining your kitchen cabinets ensures they stay beautiful and functional. Regular upkeep prevents damage and prolongs their lifespan. Here are some practical tips to keep your cabinets in top shape.Cleaning Tips For Longevity
Regular cleaning keeps cabinets looking fresh. Use a soft cloth and mild detergent. Avoid harsh chemicals that can damage finishes. Wipe spills immediately to prevent stains. For greasy spots, a mix of vinegar and water works well. Ensure cabinets are dry after cleaning to avoid moisture damage.Preventing Wear And Tear
Protect cabinets from excessive heat. Use heat shields near ovens and stoves. Avoid slamming doors and drawers to reduce stress on hinges. Use shelf liners to protect from scratches and spills. Check hinges and handles regularly for loosening. Tighten them to prevent further damage.
Credit: www.youtube.com
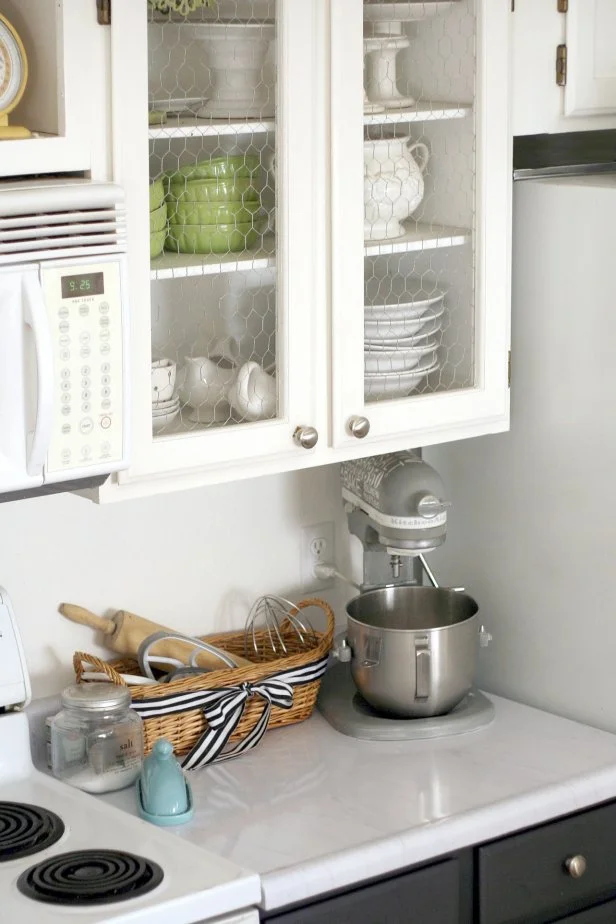
Credit: www.hgtv.com
Frequently Asked Questions
How Can I Redo My Kitchen Cabinets Without Replacing Them?
Paint cabinets for a fresh look. Replace hardware to update style. Add decorative molding or trim for elegance. Use adhesive veneer for a new finish. Install open shelving to modernize the space.
Is $10,000 Enough For A Kitchen Remodel?
$10,000 can cover a minor kitchen remodel. Focus on updating fixtures, paint, and hardware. High-end materials or appliances may exceed budget. Prioritize essential changes for maximum impact. Plan carefully to make the most of your budget.
What Is The Cheapest Way To Redo Kitchen Cabinets?
Painting cabinets is the cheapest way to refresh your kitchen. Use quality paint and brushes for best results. Replacing hardware also adds a new look without major costs. Consider adhesive veneers for a modern finish. These methods are affordable and effective for a budget-friendly kitchen makeover.
Can I Redo My Own Kitchen Cabinets?
Yes, you can redo your own kitchen cabinets. Start by removing the doors and hardware. Sand, prime, and paint or stain the surfaces. Reattach the doors with new or cleaned hardware. This DIY project can refresh your kitchen at a fraction of the cost of new cabinets.
Conclusion
Redoing kitchen cabinets can transform your space without big costs. Start by planning your design. Choose the right paint or stain for a fresh look. Don’t forget to prepare surfaces properly. Sanding and priming ensure a smooth finish. Hardware updates like knobs or handles add style.
Take your time with each step for the best results. Patience and attention to detail make a big difference. Enjoy your renewed kitchen space. It’s a project worth the effort. Your kitchen will feel brand new.