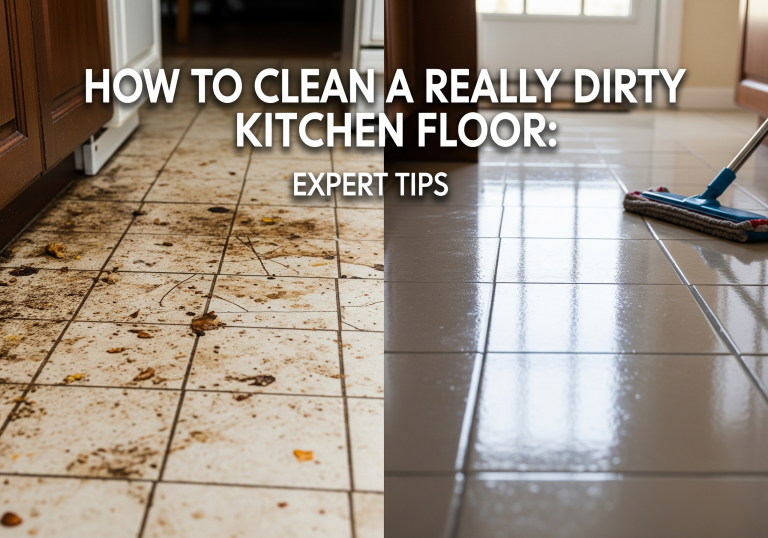
How to Clean a Kitchen Floor: Expert Tips & Techniques
Your kitchen floor is the unsung hero of your home. It braves spills, crumbs, and the daily hustle and bustle of life.
But when was the last time you gave it the care it deserves? Cleaning your kitchen floor might seem like a daunting task, but it doesn’t have to be. Imagine stepping into your kitchen and feeling a sense of calm and satisfaction as you look down at a spotless, gleaming floor.
It’s not just about hygiene; it’s about creating a space where you can feel at ease and proud of your home. You’ll discover simple, effective ways to clean your kitchen floor that will save you time and effort. Let’s transform your floor from drab to fab, enhancing not just the look, but the very feel of your kitchen. Ready to dive in and see how easy it can be? Let’s get started!
Credit: www.abt.com
Choosing The Right Cleaning Supplies
Choosing the right cleaning supplies can transform your kitchen floor from grimy to gleaming. Navigating the aisles of cleaning products can be overwhelming. But with the right knowledge, you can choose supplies that make cleaning efficient and effective, all while ensuring your floors are treated with care.
Selecting Suitable Detergents
Detergents play a crucial role in achieving that spotless finish. Different floors require different types of cleaning agents. If you have hardwood floors, opt for a gentle detergent that won’t strip away the wood’s natural oils. On the other hand, tile floors can withstand stronger detergents that tackle stubborn stains.
Consider eco-friendly options that are gentle on both your floors and the environment. Have you ever thought about the chemicals that linger after cleaning? Choosing biodegradable detergents can reduce your environmental footprint without sacrificing cleanliness.
Tools For Efficient Cleaning
The right tools can make cleaning your kitchen floor a breeze. A good mop is essential; microfiber mops are excellent for picking up dirt and dust without scratching the surface. If you’re dealing with sticky residues, a steam mop can be your best friend, using heat to dissolve grime effortlessly.
Don’t forget about the vacuum cleaner, especially if you have textured or patterned tiles that trap crumbs. A vacuum can reach into the crevices that brooms might miss. And when was the last time you checked the condition of your mop head? Regularly replacing it ensures you’re not just spreading dirt around.
:max_bytes(150000):strip_icc()/am18-clean-rag-1244-b3a13702f9824881bd6664ab51029c5d.jpg)
Credit: www.allrecipes.com
Preparing The Floor For Cleaning
Clear the kitchen floor of furniture and debris to create a clean workspace. Sweep or vacuum loose dirt and crumbs for a more effective clean. Ensure all areas are accessible for mopping and scrubbing.
Cleaning a kitchen floor begins with proper preparation. This crucial step ensures an effective and thorough cleaning process. A well-prepared floor is easier to clean and prevents dirt from spreading. Let’s look at how to prepare your kitchen floor for cleaning.Clearing The Area
Start by removing items from the floor. Move chairs, trash bins, and any small furniture. Ensure the floor is free from obstacles. This makes cleaning more efficient. You won’t miss spots hidden under objects.Sweeping And Dusting
Begin with sweeping the entire floor. Use a broom or a vacuum cleaner. Focus on corners and edges where dirt gathers. After sweeping, use a dust mop. This picks up fine dust and debris left behind. Make sure every part of the floor is dust-free. Proper sweeping and dusting prevent streaks during mopping.Cleaning Techniques For Different Floor Types
Keep kitchen floors clean by choosing the right method for each type. For tile, mop with soapy water. For wooden floors, use a damp cloth to avoid water damage. Regular cleaning prevents stains and keeps your kitchen looking fresh.
Cleaning your kitchen floor might seem straightforward, but different floor types demand distinct techniques to preserve their beauty and functionality. Whether you’re dealing with tile, wood, laminate, or vinyl, understanding the right approach can save time and prevent damage. Let’s dive into how you can tackle each type effectively.Tile Floors
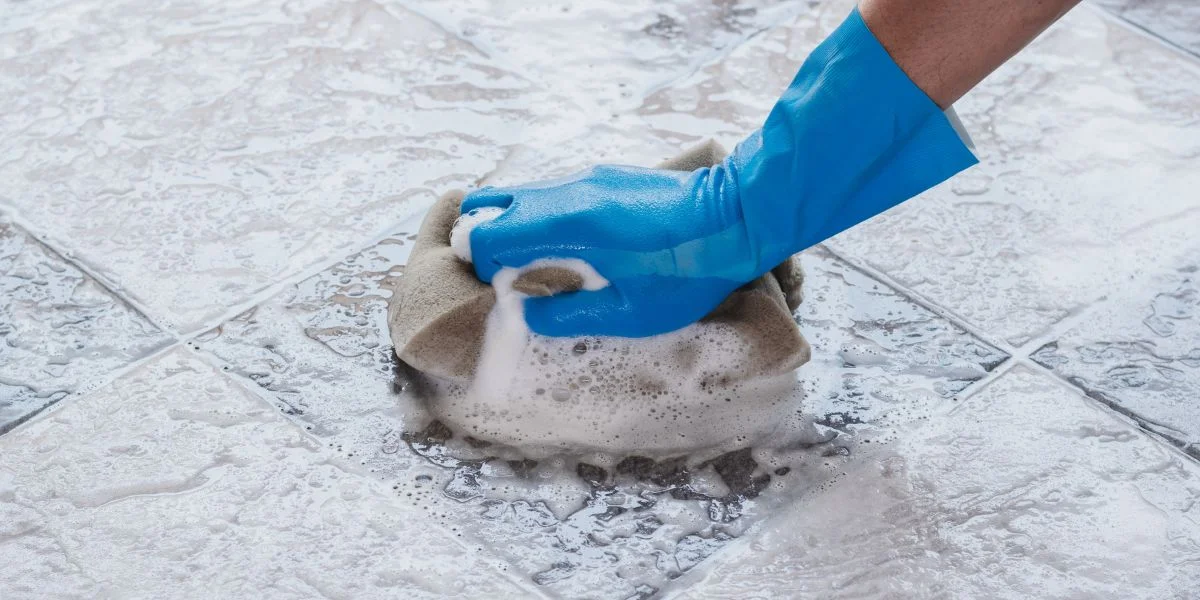
Tile floors are durable and can withstand a lot of wear and tear, making them a popular choice for kitchens. To keep them sparkling, start by sweeping or vacuuming to remove loose dirt and debris. Then, use a mop with a mild detergent mixed with warm water. Avoid acidic cleaners as they can damage the grout. For stubborn stains, baking soda and water can be a gentle yet effective scrub. Remember, keeping grout clean is key, as dirty grout can make the entire floor look dull.Wood Floors
Wood floors bring warmth and elegance to your kitchen, but they require a bit more care. Begin with a soft broom or vacuum to pick up dirt, ensuring the vacuum has a hardwood setting to avoid scratches. When mopping, choose a cleaner specifically designed for wood floors. Be cautious with water; excess moisture can warp wood. Lightly dampen a microfiber mop and gently clean the surface. Consider applying a wood floor polish occasionally to maintain its shine and protection.Laminate Floors
Laminate floors are known for their versatility and ease of maintenance. Sweep or vacuum regularly to prevent scratches from dirt particles. For mopping, use a solution of vinegar and water, which is gentle yet effective. Avoid using soap-based cleaners that can leave a residue. Laminate can be sensitive to moisture, so be sure your mop is only slightly damp. If you notice any streaks, a quick wipe with a dry cloth should do the trick.Vinyl Floors
Vinyl floors are resilient and perfect for high-traffic areas. Start with a broom or vacuum to clear away dust and dirt. A mixture of apple cider vinegar and water makes for a great cleaning solution, leaving vinyl floors looking fresh without any sticky residue. Use a mop or sponge, but steer clear of abrasive scrubbers that can scratch the surface. Vinyl is quite forgiving, but avoid over-wetting the floor to maintain its integrity over time. Each floor type has its quirks, and knowing the best cleaning approach can make all the difference. Have you ever faced a tough stain on your kitchen floor that seemed impossible to clean? Share your experience in the comments!
Credit: limestone.tilecleaning.co.uk
Stain Removal Tips
Stains on your kitchen floor can be a real eyesore, but fear not! With the right strategies, you can tackle even the toughest stains. From grease to food spills, each type of stain requires a unique approach. Let’s dive into some practical tips for keeping your kitchen floor spotless and inviting.
Tackling Grease Stains
Grease stains are notorious for their stubbornness, but you can outsmart them. Start by sprinkling baking soda directly onto the stain. Let it sit for a few minutes to absorb the grease. Then, scrub the area gently with a damp sponge. If baking soda alone doesn’t do the trick, mix it with a little vinegar for extra cleaning power. This combination not only lifts grease but also deodorizes the floor.
Removing Food Spills
Food spills are inevitable, especially in a busy kitchen. The key is to act fast before they set in. Blot up any excess liquid with a paper towel. For sticky spills, a mixture of warm water and dish soap can work wonders. Use a soft cloth to gently scrub the area. If the stain persists, add a bit of hydrogen peroxide to your cleaning solution. This will help break down stubborn residues without damaging your floor.
Dealing With Scuff Marks
Scuff marks can make your floor look worn out, but they’re easy to remove. Use a clean pencil eraser to gently rub the mark away. If the scuff is stubborn, try a bit of toothpaste on a damp cloth. Rub the area in a circular motion, and watch the mark disappear. Alternatively, you can use a magic eraser, which is effective on most surfaces. Always remember to rinse the area with water afterward to avoid any residue.
Do these tips resonate with your kitchen cleaning challenges? What’s your go-to solution for a spotless floor? Share your thoughts!
Drying And Finishing Touches
After cleaning your kitchen floor, drying and finishing touches matter. Proper drying prevents slips and water damage. Finishing touches can add a polished look. Let’s explore these steps to keep your kitchen floor looking its best.
Effective Drying Methods
Drying your floor quickly is crucial. Here are some methods:
- Use a dry mop or cloth to soak up excess water.
- Open windows to increase airflow and speed up drying.
- Turn on a fan for faster drying, especially in humid weather.
- Use a microfiber towel for extra absorption.
Polishing For Extra Shine
Polishing adds shine and protects your floor. Here’s how to polish effectively:
- Choose a polish suitable for your floor type. Read the label.
- Apply polish with a clean, soft cloth. Use gentle, circular motions.
- Allow the polish to dry completely. Check the product instructions.
- Buff the floor with a dry cloth for a gleaming finish.
These simple steps enhance the look of your kitchen floor. They also prolong its life.
Maintaining A Clean Kitchen Floor
Keeping a kitchen floor clean involves regular sweeping to remove crumbs and debris. Use a mild soap solution for mopping to tackle stubborn stains and spills. Dry the floor thoroughly to prevent slipping and ensure a spotless finish.
Maintaining a clean kitchen floor is essential for a healthy home. A spotless kitchen floor not only enhances the appearance but also prevents germs. Regular upkeep ensures the floor stays fresh, welcoming, and safe.Regular Cleaning Schedule
To keep the kitchen floor clean, establish a routine. Sweep or vacuum daily to remove dirt and crumbs. Mopping should be done weekly, using a mild cleaner suited for your floor type. Schedule deeper cleaning monthly to tackle stubborn stains or grime. Consistency is key to avoiding buildup and keeping the floor in pristine condition.Preventive Measures
Preventive measures help in maintaining a clean kitchen floor effortlessly. Place mats at entrances to catch dirt before it enters. Use rugs in areas prone to spills, like near the sink or stove. Encourage family members to remove shoes indoors. Quick cleanup of spills prevents stains and sticky spots. With these simple steps, your floor remains clean and inviting.Frequently Asked Questions
What Is The Best Thing To Clean Your Kitchen Floors With?
Use a mixture of warm water and mild dish soap to clean kitchen floors effectively. Vinegar solutions work well for removing stains and odors. Ensure you avoid abrasive cleaners to prevent damage. Regular sweeping or vacuuming also helps maintain cleanliness.
Always dry thoroughly to prevent slipping or moisture damage.
How Do You Clean A Filthy Kitchen Floor?
Sweep debris and dust first. Mix warm water with a mild detergent. Mop the floor thoroughly. For stubborn stains, use baking soda paste. Rinse with clean water and dry with a towel.
How To Properly Mop A Kitchen Floor?
Start by sweeping or vacuuming the kitchen floor. Prepare warm water with a suitable floor cleaner. Dip the mop, wring excess water, and mop the floor. Rinse the mop frequently to avoid spreading dirt. Let the floor air dry before returning items to the kitchen.
Does Dawn And Vinegar Clean Floors?
Yes, Dawn and vinegar can effectively clean floors. Mix them with warm water for best results. This combination removes grime, disinfects surfaces, and leaves floors shiny. Always test a small area first to ensure no damage occurs, especially on delicate flooring like hardwood.
Conclusion
Cleaning a kitchen floor doesn’t have to be hard. Gather your tools first. Use a broom or vacuum to remove dirt. Mop with a gentle cleaner. Dry the floor with a clean cloth. Repeat weekly for best results. A clean floor makes a happy kitchen.
Regular care prevents stubborn stains. Enjoy cooking in a fresh, tidy space. Share these tips with friends. Keep your kitchen floor spotless and inviting. It’s simple and rewarding. You’ll feel proud of a neat kitchen. Plus, it’s safer for everyone.
Happy cleaning!