How to Clean Kitchen Floor Vinyl: Expert Tips
Executive Chef & Lead Commercial Kitchen Specialist at Daily Kitchup Test Lab
Your kitchen is more than just a space for cooking; it’s the heart of your home where memories are made. But with all the hustle and bustle, your kitchen floor can quickly become a magnet for spills, stains, and grime.
If you have vinyl flooring, you’re in luck! It’s durable and easy to maintain. However, knowing the right way to clean it is key to keeping it looking pristine. Are you tired of unsightly scuff marks and sticky spots on your vinyl floor?
Imagine the satisfaction of a spotless kitchen floor that gleams with every step you take. In this guide, we’ll reveal simple yet effective cleaning strategies tailored just for your vinyl floor. Stay with us, and you’ll soon enjoy a kitchen floor that’s as welcoming as the meals you create in your cherished space.
Credit: www.bobvila.com
Choosing The Right Cleaning Products
Choosing the right cleaning products for your kitchen floor vinyl is crucial. The wrong cleaner can damage your floor, causing it to fade or warp. With the right products, your vinyl floor will stay beautiful and last longer.
Safe Cleaners For Vinyl
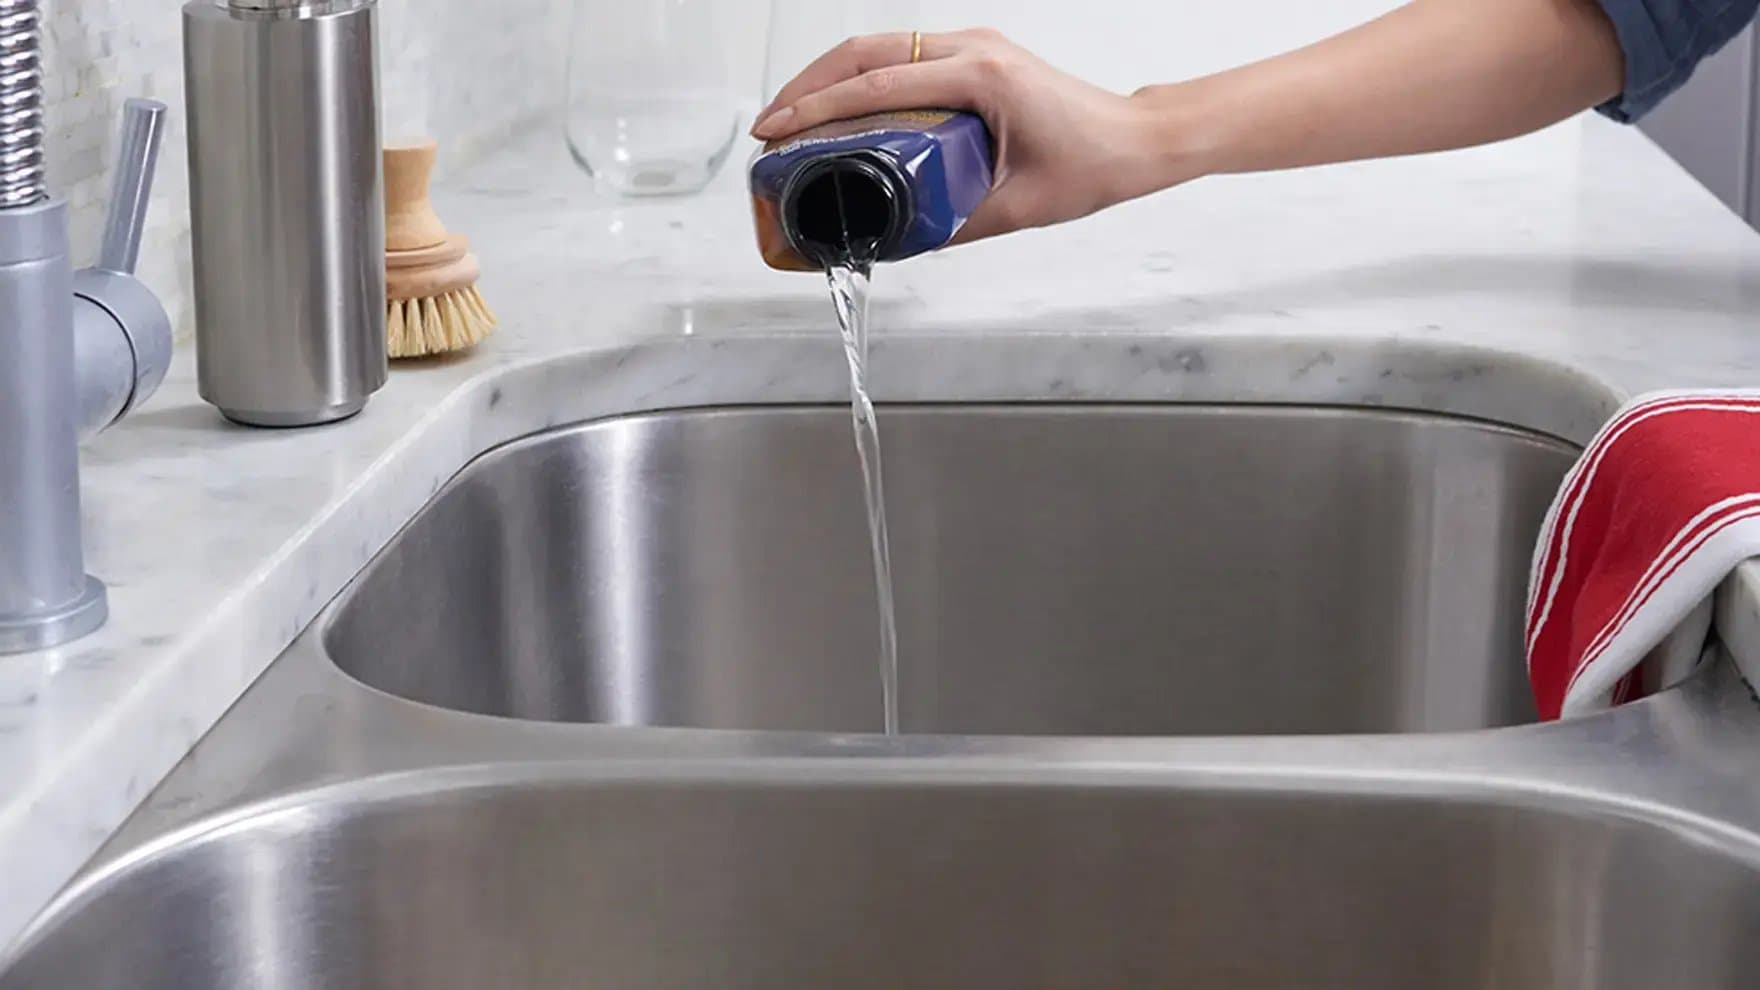
Vinyl floors are durable, but they need gentle care. Mild dish soap mixed with warm water is effective. It cleans without harming the surface. Vinegar is another safe option. It removes dirt and leaves no residue. Use a mixture of one cup of vinegar in a gallon of water. This is gentle and keeps your floor shining.
Avoiding Harmful Chemicals
Harsh chemicals can damage vinyl floors. Avoid cleaners with bleach or ammonia. These can cause discoloration and weaken the material. Also, steer clear of abrasive scrubbers. They scratch the surface and leave marks. Always check the label before buying a cleaner. Make sure it’s suitable for vinyl floors. This ensures safe and effective cleaning.
Preparing The Floor For Cleaning
Preparing your kitchen floor for cleaning is a crucial step that often gets overlooked. However, taking the time to properly prepare can make the cleaning process more effective and less cumbersome. When you prepare your floor, you ensure that the cleaning products can work their magic without any hindrance. So, let’s dive into how you can prepare your vinyl kitchen floor for a thorough cleaning.
Clearing The Area
Begin by removing any furniture, appliances, or items that are on the floor. This includes chairs, tables, and even small appliances. This step ensures you have access to every nook and cranny of the floor.
Think of it as setting the stage for a performance; you wouldn’t want any distractions. Plus, it saves you from having to clean around obstacles, which can be frustrating and inefficient.
Sweeping And Dusting
Once the area is cleared, grab a broom or a dust mop to sweep away loose dirt and debris. Pay special attention to corners and edges where dust tends to accumulate.
If you have pets, you’ll likely encounter more hair and dust. Sweeping thoroughly not only makes the cleaning process easier but also prevents any dirt from scratching your vinyl floor.
Have you ever considered how these small preparations can affect your cleaning routine? A clean sweep sets a solid foundation for deeper cleaning, allowing you to achieve that sparkling finish with less effort.
Effective Cleaning Techniques
Vinyl floors are durable but require proper cleaning methods to maintain their shine. Effective techniques ensure dirt and grime are removed without damaging the surface. Discover simple methods to keep your kitchen floor looking pristine.
Mopping With Warm Water
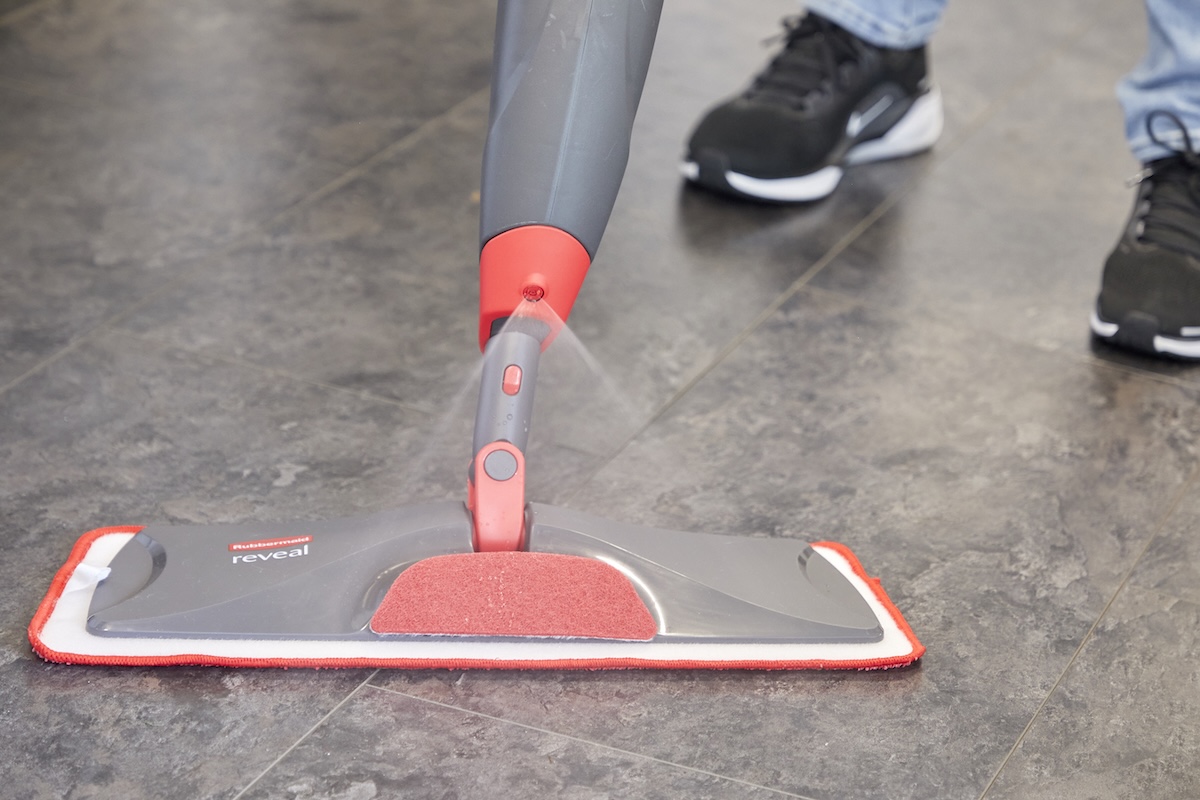
Use a mop and warm water for cleaning vinyl floors. Warm water lifts dirt without harsh chemicals. Dip the mop into the water, wring it well. This prevents excess water from soaking into the vinyl. Move the mop across the floor in gentle strokes. Focus on areas with visible dirt or spills. Rinse the mop regularly to avoid spreading dirt.
Using Gentle Cleaning Solutions
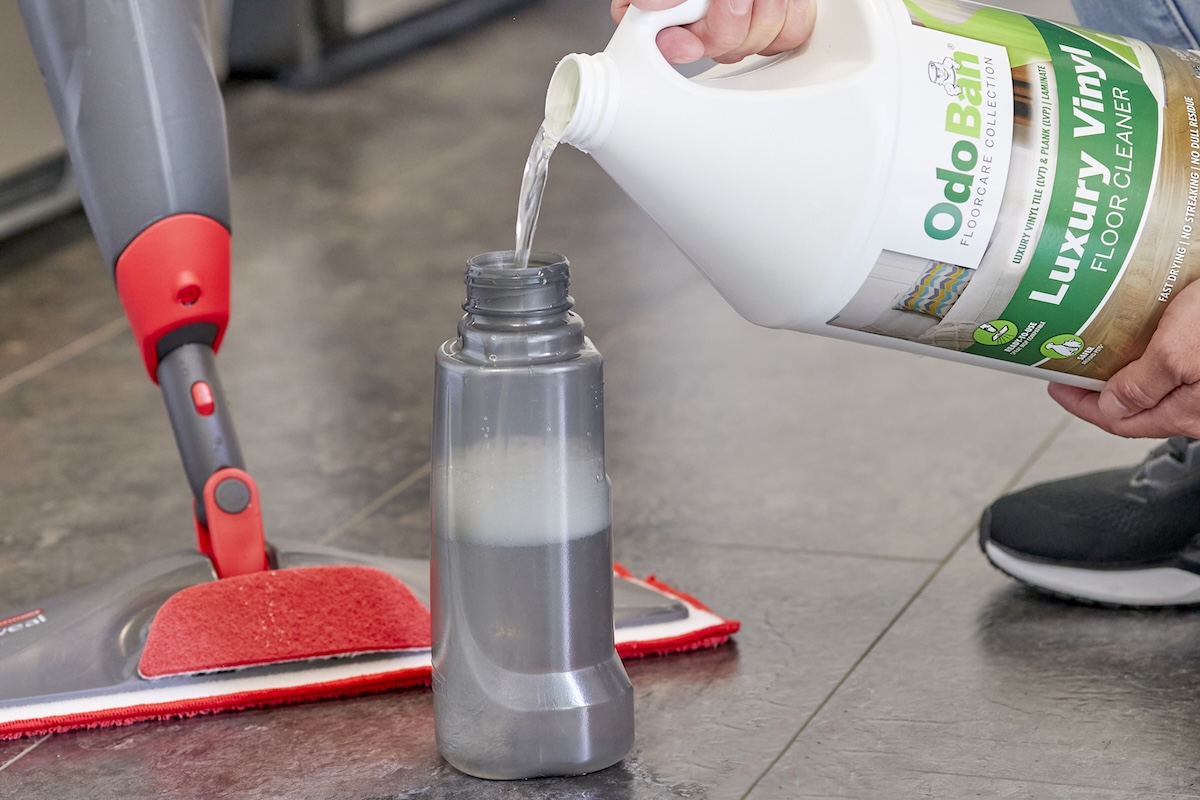
Mix gentle cleaning solutions for tougher stains. Combine water with mild dish soap. Ensure the soap is non-abrasive to protect the vinyl. Apply the solution with a damp cloth or sponge. Rub the stained area gently. Rinse with clean water to remove soap residues. Dry the floor with a clean towel to prevent streaks.
Credit: www.bobvila.com
Dealing With Stubborn Stains
Vinyl kitchen floors are practical and stylish but can collect stains. These stains can be stubborn, especially if not cleaned promptly. Proper techniques can make them vanish, keeping your floor looking fresh.
Removing Grease Marks
Grease marks are common in kitchens. Use warm water and mild detergent. This combination can cut through grease effectively. Mix in a spray bottle and apply to the stained area. Let it sit for a few minutes. Scrub gently with a soft cloth or sponge. Rinse with clean water to remove soap residue.
Tackling Tough Stains
For other stubborn stains, like ink or wine, try baking soda paste. Mix baking soda with a small amount of water until it forms a paste. Apply this paste directly to the stain. Let it sit for 10-15 minutes. Scrub gently with a soft brush. Rinse thoroughly with water to remove any residue. Repeat if necessary for persistent stains.
Drying And Polishing
Drying and Polishing Ensure the vinyl floor is dry with a soft cloth. Gently polish using a microfiber mop for a shiny finish.
Drying and polishing your vinyl kitchen floor is the final touch that ensures your hard work pays off with stunning results. After cleaning, drying your floor properly is crucial to avoid streaks and water spots. Polishing not only enhances the shine but also adds a protective layer, keeping your floor looking new and vibrant. This step-by-step guide will help you achieve a flawless finish that you’ll love to show off to guests.Ensuring A Streak-free Finish
Once you’ve cleaned your vinyl kitchen floor, grab a dry microfiber cloth or a mop designed for drying. Start from one corner of the room and work your way out, using gentle, sweeping motions. This technique prevents water from pooling, which can lead to unsightly streaks. Avoid using any old towel or cloth. Microfiber is the best choice because it absorbs moisture effectively without leaving lint behind. It’s a small detail, but it makes a big difference in the final look of your floor.Polishing For Extra Shine
Once your floor is dry, it’s time to polish. Choose a polish specifically formulated for vinyl floors to avoid damage. Apply a small amount of polish onto a clean, soft cloth or a mop pad. Spread it evenly across the floor in a circular motion to cover all areas. Let the polish dry for the time recommended on the product label. As you wait, imagine the satisfaction of walking into a kitchen that gleams with cleanliness and care. Have you ever noticed how a polished floor can change the entire vibe of a room? It’s not just about the shine; it’s about creating a welcoming space that feels fresh and inviting. By following these steps, you ensure that your vinyl kitchen floor remains in top condition. Remember, regular maintenance is key to longevity, so make this part of your routine. Your kitchen deserves nothing less than the best care.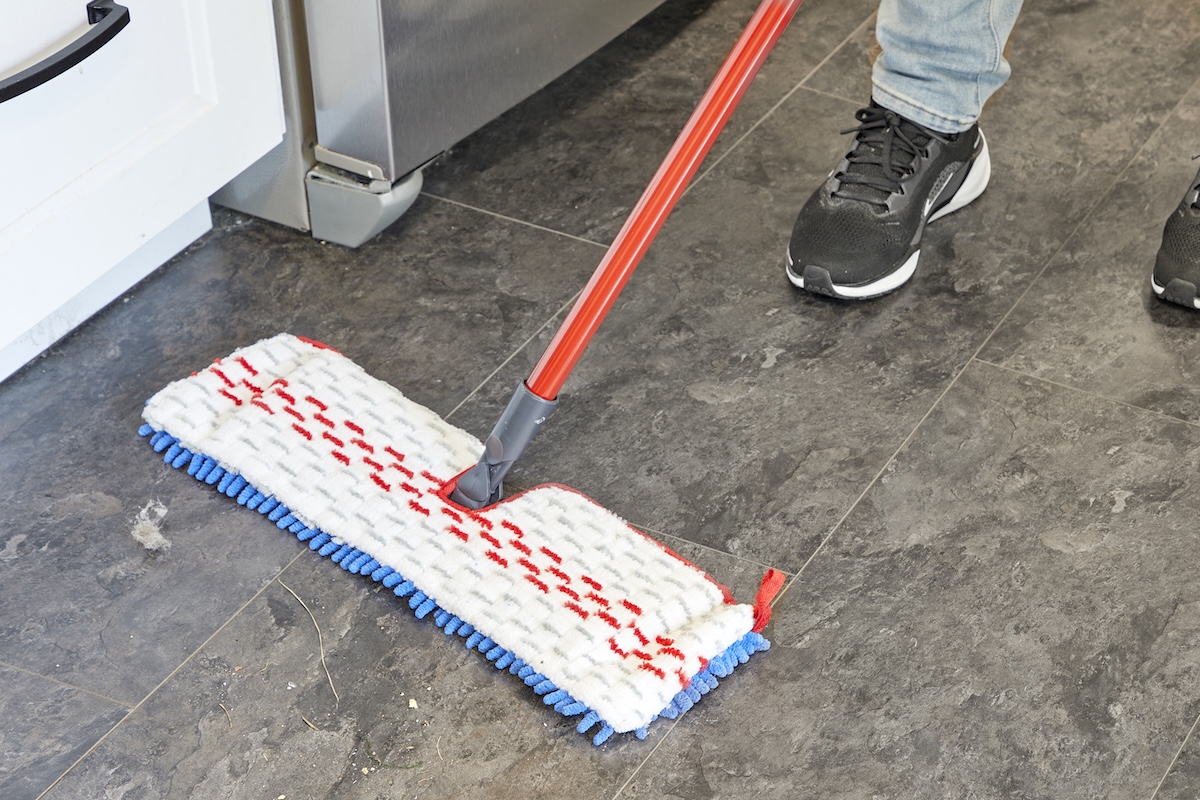
Credit: www.bobvila.com
Regular Maintenance Tips
Vinyl kitchen floors are both durable and stylish. They require regular maintenance to keep them looking their best. Establishing a cleaning routine is key to preserving your floor’s appearance and longevity. Below are some valuable tips that will help you maintain your vinyl kitchen floor with ease.
Daily Cleaning Habits
Consistent daily cleaning keeps your vinyl floor spotless. Begin by sweeping or vacuuming to remove loose dirt and debris. This prevents particles from scratching the floor surface. Use a soft-bristle broom or a vacuum without a beater bar. For stubborn spots, use a damp mop with warm water and a gentle vinyl floor cleaner. Avoid harsh chemicals that can damage the finish. A quick wipe down ensures your kitchen remains inviting and fresh.
Long-term Care For Vinyl
Long-term care involves periodic deep cleaning. This helps maintain the floor’s shine and condition. Every month, dedicate time to thoroughly clean the floor. Use a mild detergent mixed with warm water. Work in small sections to prevent water from seeping into seams. Rinse the floor with clean water and dry with a cloth to avoid streaks. Protect the floor by placing mats at entry points. This minimizes wear and tear. Regular checks for scratches or damage will help you address issues promptly.
Common Mistakes To Avoid
Avoid using abrasive cleaners on vinyl floors. These can cause scratches and dull the surface. Excessive water can seep into seams and damage the adhesive, so use a damp mop instead.
Cleaning your kitchen floor vinyl can be straightforward if you avoid some common pitfalls. Many people make mistakes that can damage the vinyl or make it less appealing over time. Understanding these errors can save you time and money, and keep your floor looking its best.Overusing Water
Excess water is a vinyl floor’s worst enemy. You might think that more water equals a cleaner floor, but soaking your vinyl can cause the glue underneath to loosen and lead to warping. Instead, use a damp mop. It should be slightly wet, not dripping. This ensures you clean effectively without risking damage.Scratching The Surface
Vinyl floors are durable, but they are not invincible. Scratches can dull their finish and make them look worn out quickly. Avoid using abrasive cleaning tools like steel wool or hard-bristled brushes. Opt for soft cloths or mops that gently lift dirt without scratching the surface. Have you ever moved a heavy chair or table and noticed a new scratch? Always use furniture pads to protect your flooring when shifting large items. By steering clear of these mistakes, you’ll extend the life of your vinyl flooring and keep it looking fresh. How else can you protect your home’s surfaces?Frequently Asked Questions
How To Clean A Dirty Vinyl Kitchen Floor?
Sweep the vinyl floor to remove loose dirt. Mix warm water with mild dish soap. Mop the floor using this solution. Rinse with clean water to avoid soap residue. Dry the floor using a clean towel for a shiny finish.
Avoid abrasive cleaners to prevent scratches.
What Not To Use To Clean Vinyl Floors?
Avoid using abrasive cleaners, wax polishes, and ammonia-based products on vinyl floors. They can damage the surface. Steer clear of steam cleaners, as excessive heat can warp the vinyl. Always use gentle, pH-neutral cleaners to maintain the floor’s finish and longevity.
Can You Use Dawn Dish Soap On Vinyl Floors?
Yes, you can use Dawn dish soap on vinyl floors. Mix a small amount with water for cleaning. It effectively removes dirt and grime without damaging the surface. Always rinse thoroughly to prevent soap residue. Test in a small area first to ensure compatibility with your flooring.
What Is The Safest Cleaner For Vinyl Floors?
Use a mixture of apple cider vinegar and water for a safe vinyl floor cleaner. Mix one cup of vinegar with a gallon of warm water. This solution effectively removes dirt without leaving a residue. Avoid harsh chemicals to prevent damage to your vinyl flooring.
Conclusion
Cleaning your kitchen floor vinyl is straightforward and rewarding. Begin with gentle sweeping to remove debris. Use a mild cleaner suitable for vinyl. Apply with a damp mop. Rinse with clean water after scrubbing. Avoid harsh chemicals to protect your floor.
Regular cleaning keeps it looking new and fresh. Consistency prevents dirt build-up. Enjoy a cleaner, safer kitchen space. Your effort makes a big difference. A clean floor enhances your kitchen’s appearance. So, keep up the routine. Your vinyl will thank you for it!

Similar Posts