How to Professionally Paint Kitchen Cabinets: Expert Tips
Executive Chef & Lead Commercial Kitchen Specialist at Daily Kitchup Test Lab
Are you tired of your outdated kitchen cabinets? Do you dream of a fresh, modern look without the hefty price tag of a complete kitchen overhaul?
You’re in the right place. Painting your kitchen cabinets is a cost-effective way to transform your space, giving it that professional touch without breaking the bank. But before you pick up a brush, there’s more to consider than just color.
The secret to achieving a flawless finish lies in the preparation and technique. With the right steps, you can create a stunning transformation that looks as though it was done by a pro. Ready to learn how? Let’s dive into the essentials of painting your kitchen cabinets like a professional, ensuring every stroke counts towards achieving your dream kitchen.
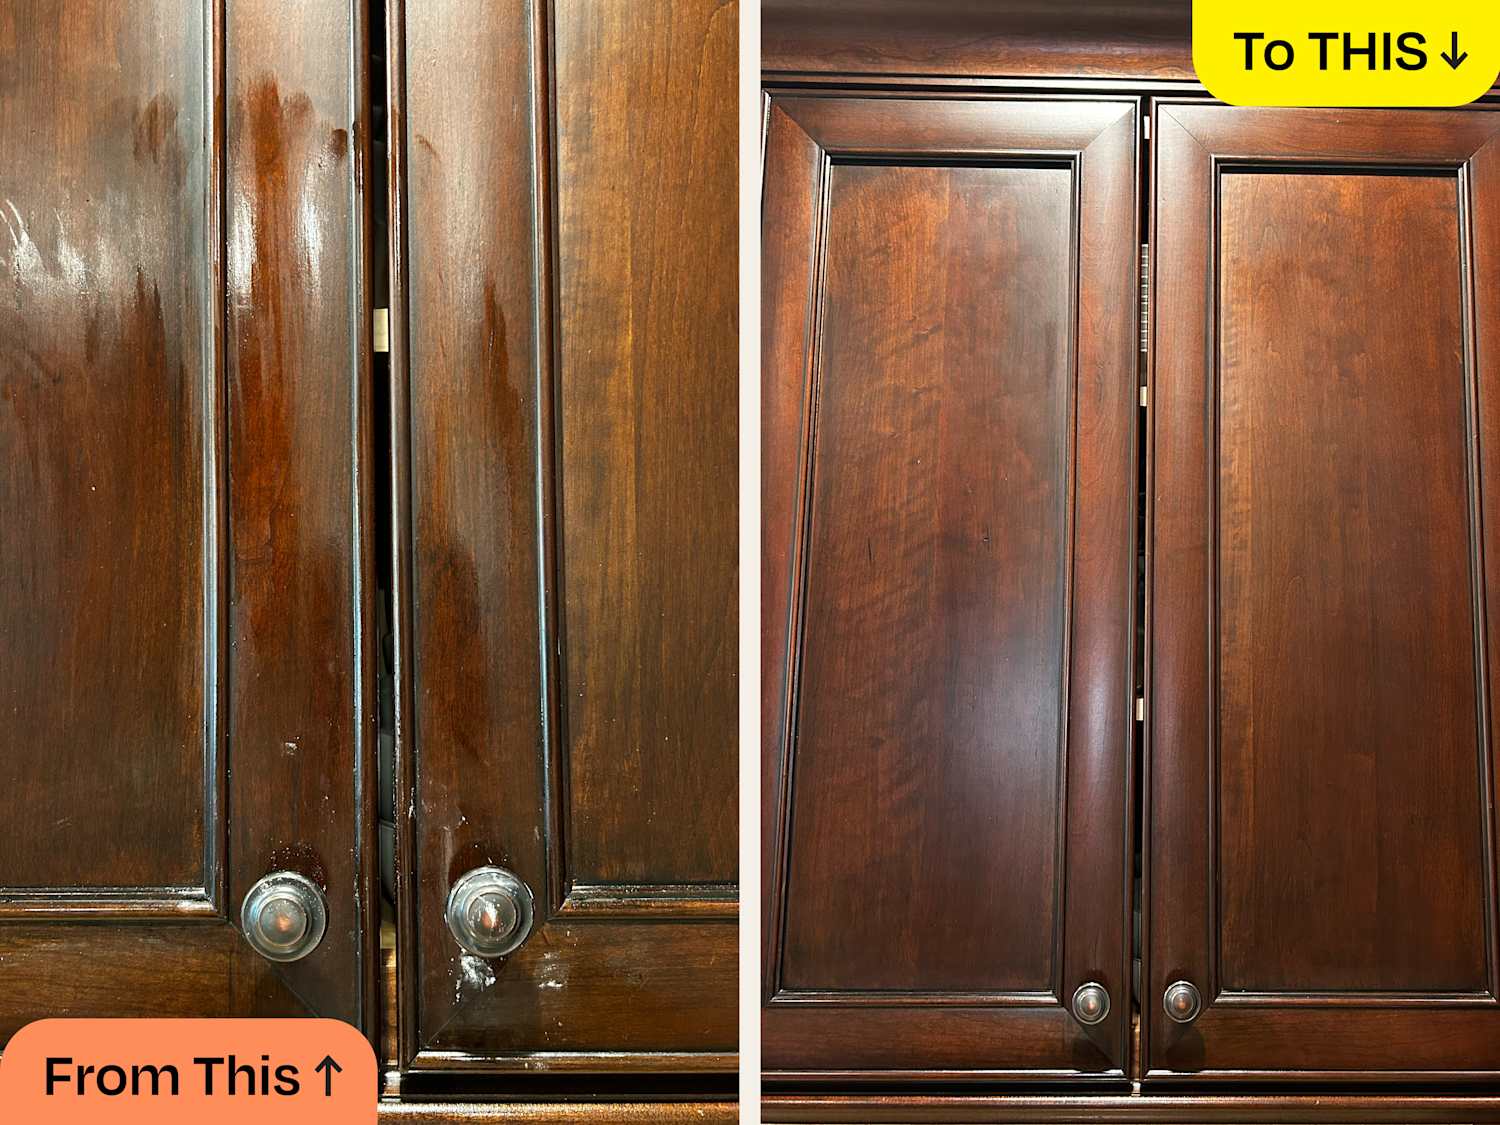
Credit: thepalettemuse.com
Preparation Steps
The journey to transforming your kitchen cabinets into a stunning focal point begins with thorough preparation. Skipping these steps can lead to uneven finishes and frustrating results. Let’s dive into the essential preparation steps that ensure your painting project is successful.
Cleaning And Degreasing
Start by cleaning your cabinets thoroughly. Dust and grease can ruin a paint job. Use a gentle cleaner and cloth to wipe down every surface. Don’t forget the hidden corners and crevices where grime tends to accumulate.
Consider using a degreaser for those stubborn spots. It’s like giving your cabinets a fresh start, free from the daily kitchen buildup. A clean surface is your canvas; make sure it’s spotless.
Removing Hardware
Next, take off all the hardware. Handles, knobs, and hinges must go. Not only does this make painting easier, but it also prevents smudges and uneven edges.
Use a screwdriver to carefully remove each piece. It might feel tedious, but this step is crucial for a professional finish. Imagine trying to paint around hardware—frustrating, right?
Labeling And Storing Parts
As you remove hardware, label each part with masking tape or small sticky notes. This simple act saves you from the headache of figuring out which piece goes where later.
Store the parts in labeled bags or containers. You’d be surprised how easily they get mixed up. A little organization now saves a lot of time when reassembling.
Have you ever struggled with mismatched pieces? Labeling makes reinstallation a breeze, ensuring a seamless look once your cabinets are painted.
Are you ready to transform your kitchen? These preparation steps set the stage for a painting project that shines. Dive in with confidence, knowing your groundwork is solid.
Choosing The Right Paint
Choosing the right paint is key to professionally painting kitchen cabinets. Opt for durable, high-quality paint designed for cabinetry. This ensures a smooth finish and long-lasting results.
Choosing the right paint for your kitchen cabinets is crucial. It affects durability and the final look. The right choice can transform your space. It can also make your paint job last longer.Types Of Paints
Understanding the types of paints is important. Latex paint is water-based and easy to clean. It’s ideal for beginners and dries quickly. Oil-based paint, on the other hand, offers a tough finish. It resists stains better but takes longer to dry.Color Selection
Color sets the mood in your kitchen. Lighter shades make a small space feel bigger. Darker colors add depth and elegance. Choose a color that complements your kitchen style. Consider your countertop and flooring colors too.Finish Considerations
The finish impacts the cabinet’s appearance and maintenance. Glossy finishes are shiny and easy to clean. They show fingerprints more, though. Satin finishes offer a soft sheen. They balance between matte and gloss, hiding imperfections better. Choose a finish that matches your lifestyle and cleaning habits.Essential Tools And Materials
Transforming your kitchen by painting your cabinets is a rewarding project that can breathe new life into your space. However, achieving a professional finish requires the right tools and materials. Knowing exactly what you need ensures a smooth process and a stunning result.
Brushes And Rollers
Choosing the right brushes and rollers is crucial for a sleek finish. Use a high-quality, angled brush for edges and corners, ensuring precision and neat lines. Pair this with a foam roller for large, flat surfaces to avoid brush marks and achieve a smooth coat.
Consider the size of your cabinets when selecting these tools. A small brush works wonders for intricate details, while a wider roller covers large areas quickly. The right tools make the task less tedious and more enjoyable.
Primer And Sealants
Primer is your best friend when painting cabinets. It prepares the surface, ensuring the paint adheres properly and lasts longer. Choose a primer that suits your cabinet material, whether wood, laminate, or metal.
Sealants add a protective layer, guarding against moisture and stains. A quality sealant not only preserves the paint but also enhances its appearance. Investing in good primer and sealants is a small price to pay for a long-lasting kitchen makeover.
Sandpaper And Tape
Smooth surfaces are essential for a professional look, and sandpaper is key to achieving this. Use a medium-grit sandpaper to remove old paint or finish, and a fine-grit for smoothing the primer. This step prevents imperfections that can ruin your hard work.
Painters tape ensures clean, sharp lines and protects areas you don’t want painted. Apply it carefully along edges and corners. Have you ever ended up with paint where you didn’t want it? A little tape goes a long way in preventing those mishaps.
Having these essential tools and materials at your disposal not only saves time but also enhances your painting skills. Are you ready to give your kitchen cabinets a professional makeover?

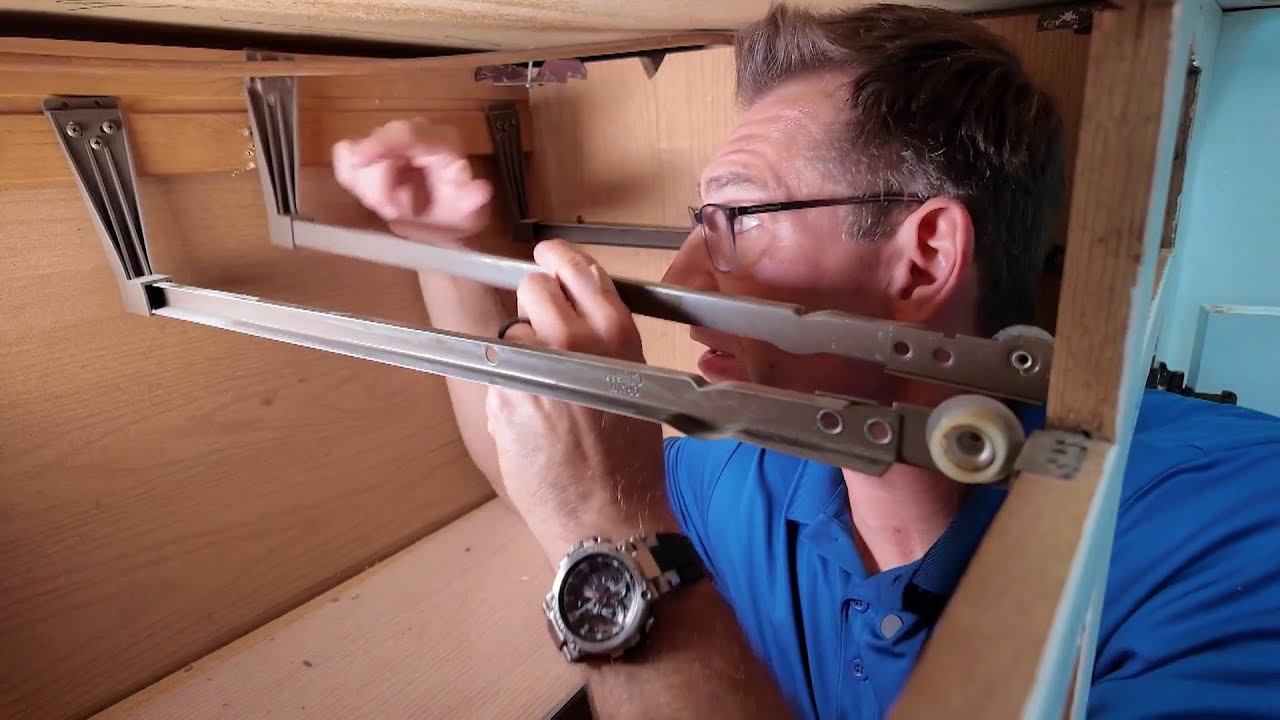
Credit: www.kylieminteriors.ca
Surface Preparation
Proper surface preparation ensures a smooth finish when painting kitchen cabinets. Begin by removing hardware and cleaning thoroughly. Sand surfaces to remove old paint and enhance adhesion.
Preparing the surface is the most crucial step when painting kitchen cabinets. It sets the foundation for a smooth, professional finish. Without proper preparation, even the most expensive paint can look unappealing and wear out quickly. Remember, patience during this stage can save you a lot of frustration later on. Let’s dive into the key aspects of surface preparation that ensure your kitchen cabinets look stunning.Sanding Techniques
Sanding is your first step in preparing the cabinet surfaces. It helps remove old paint or finish and creates a texture that allows new paint to adhere better. Use a medium-grit sandpaper, around 120 to 150 grit, for effective results. Sand all surfaces evenly, paying attention to corners and edges. A random orbital sander can speed up the process, but hand sanding ensures precision. Don’t forget to wipe down the surfaces with a damp cloth to remove dust after sanding. This ensures a clean base for the next steps.Filling And Repairing
After sanding, inspect your cabinets for dents, scratches, or holes. These imperfections can ruin the look of your final product if left unattended. Use wood filler to patch up any damages. Apply it with a putty knife, ensuring it’s level with the surface. Allow it to dry completely before sanding it smooth with fine-grit sandpaper. Think about the long-term effect: taking time to repair now can extend the life of your beautifully painted cabinets.Priming Surfaces
Priming is non-negotiable for a professional finish. It seals the wood, preventing any stains or tannins from bleeding through the paint. Choose a high-quality primer suitable for your cabinet material. Apply a thin, even coat using a brush or roller, making sure to cover all surfaces. Allow the primer to dry completely. Depending on the primer type, it might require light sanding afterward to ensure a smooth base for painting. Do you see the trend? Each step builds on the previous one, ensuring your hard work pays off in vibrant, durable cabinets.Painting Techniques
Painting kitchen cabinets can transform your space, giving it a fresh look. Understanding painting techniques is essential for achieving a professional finish. Different methods offer varying benefits, and knowing how to layer and coat properly can make a difference. It’s also important to avoid common mistakes that can affect the final outcome. Let’s explore some key techniques to help you paint your kitchen cabinets like a pro.
Brush Vs. Spray
Choosing between a brush and a spray is crucial. Brushes offer control and are great for detailed work. They are ideal for small areas and edges. Sprays provide a smooth finish and cover large areas quickly. They are perfect for flat surfaces and can reduce brush marks. Consider the size of your cabinets and desired finish when deciding.
Layering And Coating
Proper layering ensures a durable finish. Start with a primer to prepare the surface. It helps the paint adhere better and provides a uniform base. Apply paint in thin layers for even coverage. Multiple coats may be necessary for rich color. Allow each layer to dry completely before adding the next. This prevents smudging and peeling.
Avoiding Common Mistakes
Preparation is key to avoiding mistakes. Clean the cabinets thoroughly before painting. Grease and dirt can prevent paint from sticking. Sand the surface lightly for better adhesion. Skipping this step can lead to peeling paint. Use painter’s tape to protect areas not being painted. It ensures clean lines and prevents accidental splashes. Test paint on a small area first to see how it looks. It helps avoid color surprises.
Drying And Curing
Proper drying and curing are vital steps in painting kitchen cabinets. Allow enough time between coats for a smooth finish. This ensures the paint adheres well and provides a durable, professional look.
Drying and curing are critical steps in achieving a flawless finish for your kitchen cabinets. It’s not just about waiting for the paint to dry; it’s about creating the perfect environment for the paint to cure properly. Proper drying ensures that the paint adheres smoothly and lasts longer, while curing solidifies the finish, making it durable and resilient. Understanding these processes can make all the difference between a job well done and one that needs redoing.Setting Proper Conditions
Setting up the right environment is crucial for drying and curing. Ensure the room temperature is moderate—neither too hot nor too cold. Ventilation matters; open windows or use fans to prevent excessive humidity, which can hinder the curing process. You might wonder, how does humidity affect paint? High humidity can cause bubbling, while low humidity can lead to cracking.Time Management
Managing your time efficiently can make the painting process smoother. Allocate enough time for drying and curing, typically 24 to 48 hours, depending on the paint type. Plan your schedule around these intervals to avoid rushing. Ever thought about what happens if you reassemble too soon? Premature handling can compromise the finish, leading to scratches or smudges.Handling And Reassembling
Once cured, handle your cabinets with care. Use clean gloves to avoid fingerprints. As you reassemble, ensure each piece is completely cured to prevent any damage. Have you ever been tempted to skip this step? Skipping careful reassembly can lead to chips or misaligned doors, affecting both aesthetics and functionality.Maintaining Painted Cabinets
Professionally painting kitchen cabinets involves careful preparation and the right tools. Clean the surfaces thoroughly before starting. Use high-quality paint for a smooth finish. Regularly maintain by wiping with a damp cloth to keep them looking fresh and vibrant.
Maintaining painted kitchen cabinets can be a rewarding task, ensuring your kitchen remains vibrant and fresh over time. But how do you keep your cabinets looking as pristine as the day you painted them? Regular maintenance is key, and with the right care, you can extend the life and beauty of your painted surfaces. Let’s dive into some practical tips on how you can keep your cabinets in tip-top shape.Cleaning Methods
To keep your cabinets gleaming, choose gentle cleaning solutions. Use a mix of warm water and mild dish soap for regular cleaning. Avoid harsh chemicals as they can strip paint and damage the finish. A soft microfiber cloth works wonders for wiping surfaces. This ensures a gentle touch that won’t scratch or dull the paint. For stubborn stains, a paste of baking soda and water can safely break down grime without harming the paint.Touch-up Tips
Over time, nicks and scratches are inevitable. Keeping a small container of your cabinet’s original paint is a lifesaver for quick touch-ups. Use a small artist’s brush for precision work. This helps you cover blemishes without affecting the surrounding area. Always clean the spot before applying paint to ensure a smooth finish. Consider keeping a record of your paint’s brand and color code. This can be crucial for larger touch-ups, ensuring color consistency.Long-term Care
Regular checks can prevent minor issues from becoming major problems. Inspect your cabinets periodically for signs of wear or damage. Humidity can be a cabinet’s worst enemy. If possible, use a dehumidifier or ensure good ventilation in your kitchen. This helps prevent warping and paint degradation. Ask yourself, how often do you reassess your cabinet’s maintenance routine? Periodic reviews can extend their lifespan and keep them looking stunning. By incorporating these practices, you can maintain the beauty and integrity of your painted kitchen cabinets, making them a lasting focal point in your home.
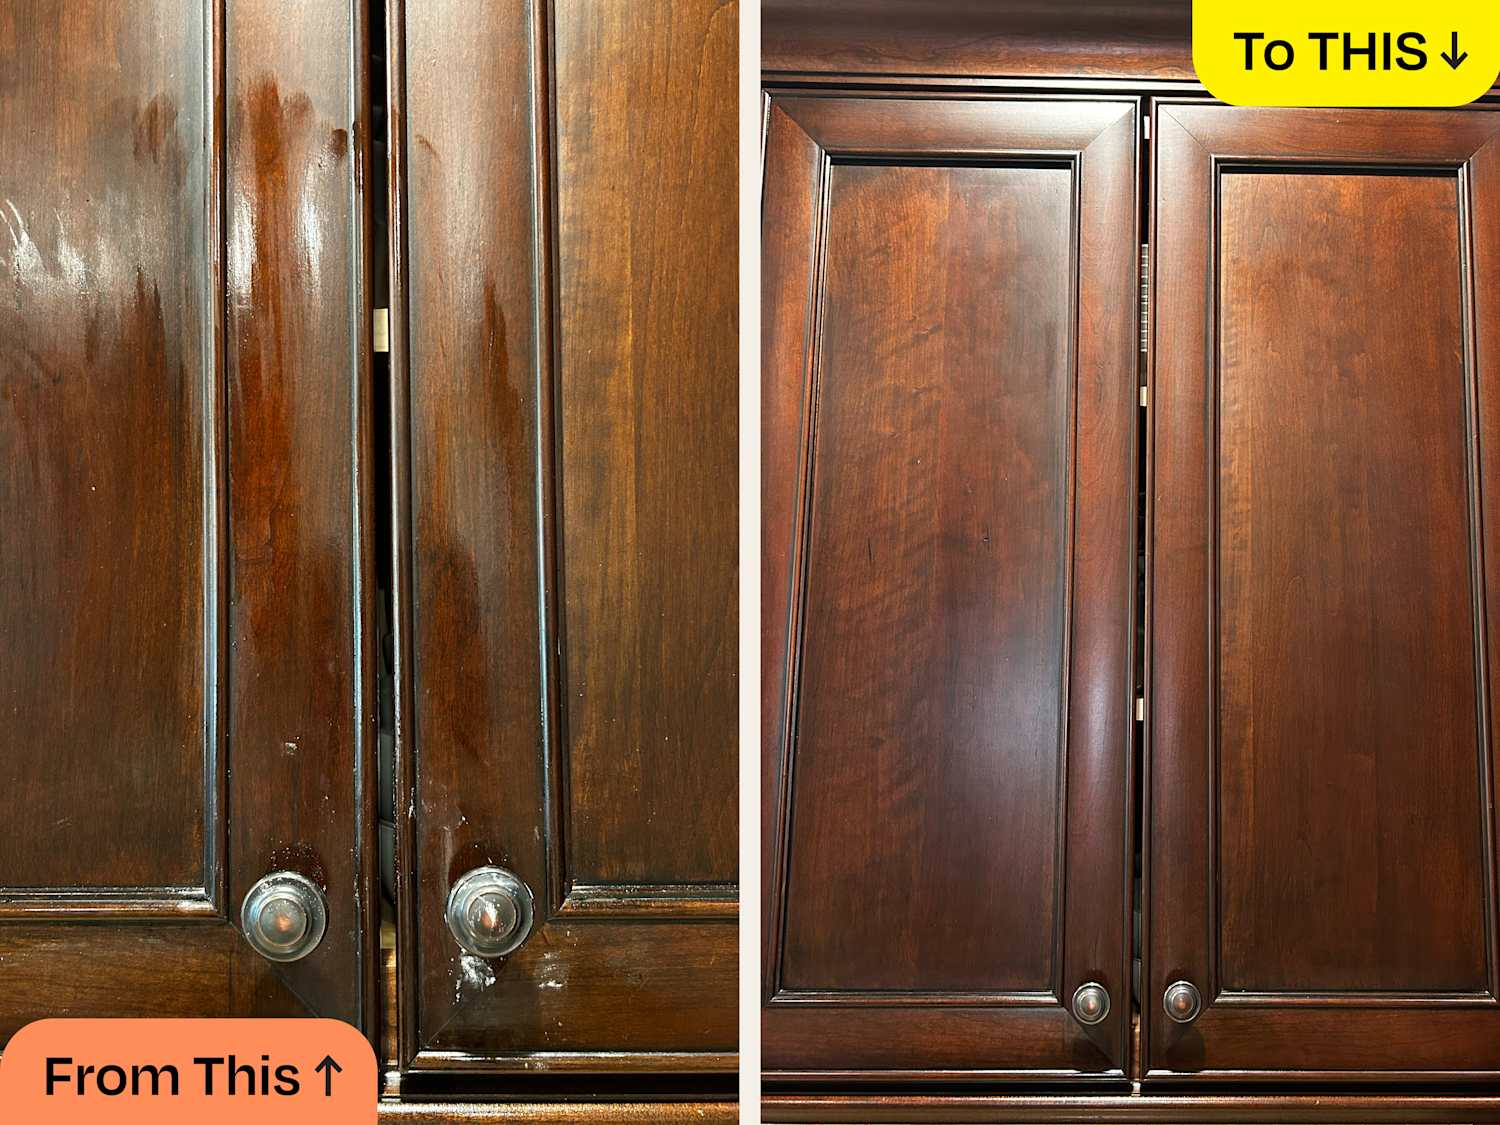
Credit: pbphomerepair.com
Frequently Asked Questions
How Do Professionals Paint Kitchen Cabinets?
Professionals clean, sand, and prime cabinets before painting. They use high-quality paint and brushes or sprayers. Multiple thin coats ensure a smooth finish. Proper drying time is crucial for durability. Finally, they reinstall hardware and check for touch-ups.
How Much Does It Cost For A Professional Painter To Paint Kitchen Cabinets?
Professional painters typically charge between $1,000 and $3,000 to paint kitchen cabinets. Prices vary based on cabinet size, paint type, and labor costs.
Is It Better To Roll Or Brush Paint Cabinets?
Rolling paint on cabinets offers a smoother finish and is faster than brushing. Brushes are better for intricate details. Choose rolling for flat surfaces and brushing for corners and edges. Consider using both methods for optimal results.
What I Wish I Knew Before Painting Cabinets?
Proper preparation is crucial. Clean and sand cabinets thoroughly. Use high-quality primer and paint. Allow ample drying time between coats. Label doors and hardware to avoid confusion. Consider professional help for a flawless finish.
Conclusion
Painting kitchen cabinets can transform your space beautifully. With the right tools, it’s easy. Choose quality paint for a long-lasting finish. Clean and sand surfaces well. This ensures smooth application. Be patient with drying times. It prevents smudges and imperfections.
Properly label hardware for easy reassembly. This saves time and frustration. Take care with details around edges and corners. It makes a big difference. Regular maintenance keeps your cabinets looking fresh. Follow these steps for a professional result. Enjoy your newly painted cabinets and the refreshed look they bring to your kitchen.
Happy painting!

Similar Posts