How to Tile Backsplash in Kitchen: Expert Tips & Tricks
Executive Chef & Lead Commercial Kitchen Specialist at Daily Kitchup Test Lab
Are you tired of staring at the same old walls in your kitchen? Imagine transforming that space with a stunning backsplash that reflects your style and adds a touch of elegance.
If you’ve been dreaming about a kitchen makeover but worried it’s too complicated or expensive, think again! Tiling a backsplash is simpler than you might think, and you can do it yourself with a little guidance. We’ll walk you through each step, ensuring you have the confidence and know-how to create a beautiful, personalized focal point in your kitchen.
So, why wait? Dive in and discover how easy it is to give your kitchen the facelift it deserves.
Choosing The Right Materials
Choosing the right materials for a kitchen backsplash can transform your space. The materials you select should balance style, durability, and budget. This section guides you through tile types and quality considerations.
Types Of Tiles
Various tiles can suit different kitchen aesthetics. Ceramic tiles are popular for their affordability and variety. They come in numerous colors and patterns. Glass tiles offer a sleek, modern look. They reflect light, enhancing brightness in your kitchen. Stone tiles bring a natural, rustic feel. Options like marble and granite provide timeless elegance. Porcelain tiles are known for their durability. They resist moisture and stains, making them ideal for kitchens.
Tile Quality Considerations
Tile quality affects longevity and appearance. Check for water absorption rates. Lower rates mean better resistance to moisture. Examine the tile’s thickness. Thicker tiles are more durable and less prone to cracking. Pay attention to the tile’s surface finish. Glossy finishes are easier to clean but may show fingerprints. Matte finishes offer a subtle look but need more maintenance. Choose tiles with consistent color and texture. This ensures a seamless and professional finish.
Credit: adreamkitchen.com
Placing The Tiles
Placing the tiles requires careful alignment and consistent spacing for a neat kitchen backsplash. Begin at the center and work outward, ensuring each tile is level. Use spacers between tiles to maintain uniform gaps, allowing for grout application later.
Placing tiles for a kitchen backsplash can seem like a daunting task, but with a clear strategy, it becomes an enjoyable DIY project. Imagine transforming your kitchen with a vibrant or subtle pattern that reflects your style. It’s all about precision and patience, and the satisfaction of a job well done is unbeatable.Starting Point And Alignment
Choosing the right starting point can make or break your project. Begin at the most visible part of your backsplash area. This ensures any cuts or adjustments are less noticeable and tucked into corners or edges. Aligning the first row is crucial. A level line can help guide your tiles, ensuring they are straight and even. Have you ever noticed how one crooked tile can catch your eye every time you walk into the room? Avoid that frustration by taking the time to check your alignment at the start.Using Spacers For Consistency
Spacers are tiny but mighty tools that ensure uniformity. They maintain equal gaps between each tile, which is essential for a professional look. Without spacers, tiles can shift during the setting process, leading to uneven grout lines. Using spacers also simplifies the grouting stage. With consistent gaps, the grout application becomes smoother, and the finished look is tidy. Have you considered how much easier it is to clean evenly spaced tiles? Consistency not only improves aesthetics but also enhances practicality. Incorporating these tips into your tiling project will help you achieve a stunning backsplash that’s both eye-catching and durable.Grouting The Tiles
Grouting the tiles ensures a smooth, polished finish for your kitchen backsplash. Apply grout evenly between tiles using a rubber float. Clean off excess grout with a damp sponge for a neat appearance.
Grouting the tiles in your kitchen backsplash project is a crucial step that completes the transformation from a simple wall to a stunning focal point. It’s the process that seals your tiles, protecting them from moisture and giving your backsplash a polished look. But how do you ensure that your grout looks professional and lasts for years? Understanding the nuances of mixing and applying grout, as well as cleaning up excess, is key to achieving a flawless finish.Mixing And Applying Grout
Start by reading the instructions on your grout package carefully. The ratio of powder to water can vary, but you’ll want a smooth, peanut butter-like consistency. Mix the grout in small batches to avoid it drying out before you can use it. This is where patience pays off; rushing can lead to lumpy grout and uneven application. Use a rubber float to apply the grout. Hold it at a 45-degree angle and press firmly to fill the spaces between the tiles. Consider using unsanded grout for smaller gaps under 1/8 inch, as it’s easier to work with in tight spaces. Sanded grout, on the other hand, is best for larger gaps and offers more durability.Cleaning Excess Grout
After applying the grout, wait about 15-30 minutes before cleaning off the excess. This timeframe allows the grout to set slightly without hardening completely. Use a damp sponge to wipe away the surplus grout, working in a circular motion. Rinse your sponge frequently to avoid smearing grout across the tiles. This step requires finesse. Too much pressure can remove grout from between the tiles, while too little can leave a haze. Finally, once the grout has fully cured, typically within 24 hours, use a dry cloth to buff away any remaining haze. A clean backsplash not only looks better but also makes your hard work shine. Have you ever wondered why some backsplashes look pristine and others seem to age quickly? The secret often lies in how carefully the grout was applied and cleaned. Taking these steps seriously will ensure your kitchen backsplash stands out and stands the test of time.Sealing And Finishing
Ensure tiles are clean and dry before sealing. Apply grout sealer evenly, allowing it to dry completely. Finish by wiping excess sealer for a polished look.
Sealing and finishing your kitchen backsplash is the final step that transforms your tiling project from good to spectacular. It’s the finishing touch that ensures durability and adds a polished appearance to your culinary space. But why does sealing matter, and how can you achieve that professional look? Let’s delve into these aspects for a flawless kitchen upgrade.Importance Of Sealing
Sealing is crucial for protecting your tiles and grout from water, stains, and grease. Without a proper seal, moisture can seep into the grout, leading to mold and deterioration over time. Consider sealing as an investment in your kitchen’s longevity. A high-quality sealant acts as a barrier, keeping your backsplash looking fresh and new despite the daily hustle and bustle. Think about the last time you cooked an elaborate meal. Imagine how easily spills and splashes could stain your beautiful tiles. Sealing provides peace of mind, letting you cook without worry.Final Touches For A Professional Look
Achieving a professional finish involves more than just applying sealant. Start by ensuring every tile is clean and dry before sealing. This preps the surface and enhances the sealant’s effectiveness. Once sealed, pay attention to details like smoothing out any rough edges or uneven grout lines. A grout touch-up pen can be a handy tool for small corrections. Lastly, step back and assess the overall look. Does it meet your expectations? If not, tweak as necessary. Your effort in these final touches can make your DIY backsplash indistinguishable from a professional installation. Have you ever admired a friend’s kitchen and wondered how they achieved such a sleek look? Now, you have the tools to create that same wow factor in your own home.Troubleshooting Common Issues
Tiling a kitchen backsplash can present challenges like uneven surfaces and adhesive issues. Ensure surfaces are clean and flat for proper tile adhesion. Use spacers to maintain even spacing and grout application.
Troubleshooting common issues in tiling a kitchen backsplash can save time and frustration. It’s essential to address problems swiftly to maintain a polished look. Below, we explore solutions for frequent tiling issues.Fixing Misaligned Tiles
Misaligned tiles can disrupt the aesthetic of your backsplash. Start by identifying the misaligned tiles. Use a level to check for alignment. Gently tap the tile with a rubber mallet. Reapply adhesive if needed. Ensure the tile is straight before it sets. Use spacers to maintain even gaps. Adjust quickly before the adhesive hardens.Addressing Grout Discoloration
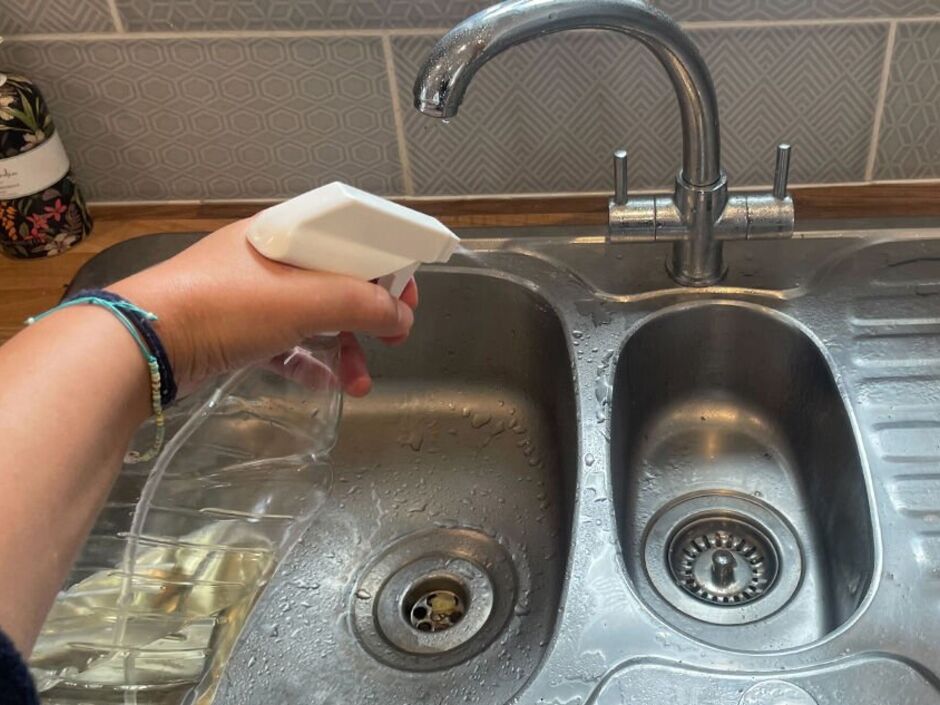
Grout discoloration can occur over time. It can make tiles look dull and dirty. Regular cleaning helps prevent stains. Mix water and vinegar for a simple cleaning solution. Use a brush to scrub the grout gently. Rinse thoroughly to remove residue. For severe stains, consider a commercial grout cleaner. Seal the grout to protect against future stains. Reapply the sealant annually for best results.Maintenance Tips
Keeping your kitchen backsplash looking new is easier than you think. Proper maintenance ensures longevity and beauty. These tips help preserve your investment and keep it shining.
Routine Cleaning Practices
Regular cleaning prevents buildup and stains. Use a mild detergent mixed with warm water. A soft cloth or sponge is gentle on tiles. Wipe the backsplash after cooking to remove splashes.
For stubborn grime, use a toothbrush or soft brush. Avoid abrasive cleaners that scratch surfaces. Rinse thoroughly and dry with a clean towel. This keeps your tiles pristine and vibrant.
Preventing Damage Over Time
Tile damage can occur with neglect. Avoid hanging heavy objects directly on tiles. Install hooks on walls instead. Use cutting boards to prevent knife marks on tiles.
Check grout regularly for cracks. Repair any damage promptly. This prevents moisture from seeping behind tiles. Consider sealing grout annually to enhance durability.
Keep an eye on caulking around sinks and counters. Replace it when worn to prevent water damage. A little care goes a long way in maintaining your backsplash.
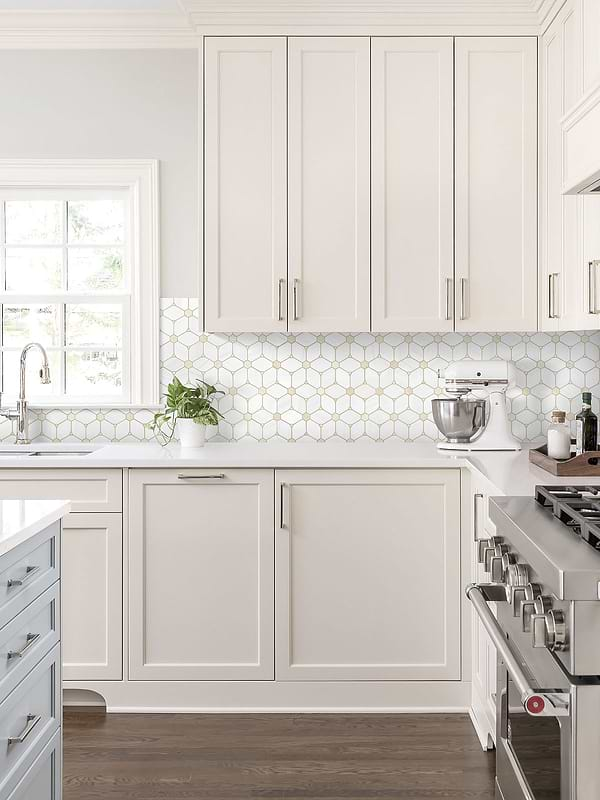
Credit: www.backsplash.com
Frequently Asked Questions
When Tiling A Backsplash, Where Do You Start?
Start tiling a backsplash at the center of your main focal point. This ensures symmetry and a balanced look. Measure and mark the center line, then lay tiles outward. Use spacers for even gaps. Adjust tile cuts at corners or edges for a professional finish.
Can A Beginner Tile A Backsplash?
Yes, a beginner can tile a backsplash. With proper tools, materials, and step-by-step instructions, it’s achievable. Start with a small project to build confidence. Watch tutorials and follow guidelines for best results. Always measure and cut tiles accurately. Patience and attention to detail are essential for success.
Can You Tile A Kitchen Backsplash Directly On Drywall?
Yes, you can tile directly on drywall if it’s clean, dry, and in good condition. Use a quality adhesive. Ensure the surface is free of grease and dust for best results. Consider priming the drywall for increased durability and adhesion.
Proper installation prevents issues like cracking or loosening tiles.
What Is The Easiest Way To Install Tile Backsplash?
Use adhesive tile mats for an easy backsplash installation. Clean the wall, apply mats, and press tiles firmly. Ensure tiles are aligned properly and cut edges as needed. Grout the seams after tiles are set. This method is quick and minimizes mess.
Conclusion
Tiling a kitchen backsplash transforms your space. It’s a simple yet impactful update. With basic tools and patience, anyone can achieve this. Start with planning your design. Measure carefully before cutting tiles. Use adhesive and grout for a firm hold.
Clean excess grout promptly. Your backsplash will look professional. It adds charm and value to your kitchen. Enjoy the satisfaction of your own handiwork. Dive into this rewarding project. You’ll be proud of the results. A stunning backsplash awaits, enhancing your kitchen’s beauty.

Similar Posts