How to Clean Grout on Kitchen Tile Floor: Expert Tips
Does your kitchen tile floor look a bit dull lately? The culprit might just be the grout.
Those once pristine lines between your tiles can easily gather dirt, grime, and stains, making your kitchen seem less inviting. But don’t worry—getting that grout back to its original glory is easier than you might think. Imagine walking into your kitchen and feeling a sense of pride as the sunlight reflects off your spotless tiles.
Your floor can be transformed with just a few simple steps, and you don’t need to be a cleaning expert to do it. In this guide, we’ll reveal the secrets to achieving sparkling clean grout, so you can enjoy a kitchen that truly shines. Stick with us, and you’ll discover tips and tricks that will make cleaning grout not only effective but also satisfying. Let’s get started!
:max_bytes(150000):strip_icc()/spr-stardrops-the-pink-stuff-marisa-viglione-08-f6d92394a1cf490c932fe891704520cd.jpeg)
Credit: www.thespruce.com
Essential Tools And Materials
Baking soda, white vinegar, and a stiff brush are key for grout cleaning. Use a spray bottle for easier application. Protective gloves keep your hands safe during the process.
Cleaning grout on your kitchen tile floor can seem like a daunting task, but with the right tools and materials, it becomes manageable and even satisfying. Imagine the joy of seeing your tiles gleaming, as if they were installed yesterday. But what exactly do you need to make this happen? Let’s dive into the essential tools and materials that will make your grout-cleaning endeavor a breeze.Basic Cleaning Supplies
To start, gather the basic cleaning supplies that form the backbone of your grout-cleaning toolkit. A sturdy bucket is essential for mixing your cleaning solutions. You’ll also need a scrubbing brush with firm bristles. This is crucial for getting into the nooks and crannies of the grout lines. Consider adding a mop for an easy cleanup afterward. Don’t forget your trusty sponge or cloth, which can help wipe down and polish tiles after cleaning. Have you ever tried using an old toothbrush for scrubbing? It’s surprisingly effective for those narrow grout lines!Specialized Grout Cleaners
While basic supplies are indispensable, specialized grout cleaners can offer that extra oomph in tackling stubborn stains. Look for products specifically designed for grout, as they contain stronger agents that can break down grime effectively. If you’re a fan of DIY solutions, a mixture of baking soda and vinegar can work wonders. Just remember, not all tiles are the same; test your cleaner on a small, hidden area first to avoid any damage. Have you considered using an electric grout scrubber? These tools can save you a lot of elbow grease and time, providing powerful cleaning with minimal effort.Protective Gear
Cleaning grout can be a messy affair, and protective gear is your safeguard. Gloves are a must to protect your skin from harsh chemicals. A pair of knee pads can make kneeling on hard tiles more comfortable. Consider wearing a mask if you’re using strong cleaners, especially in poorly ventilated areas. Ever had to clean grout in a cramped space? A mask can be a lifesaver, preventing you from inhaling any harmful fumes. What about eye protection? Splashes happen, and goggles can help keep your eyes safe from cleaner splatter. Ensuring you’re well protected allows you to focus on the task without distractions. Now you’re equipped with the knowledge of essential tools and materials for cleaning grout. Ready to transform your kitchen floor? Grab your supplies and start scrubbing!Preparation Steps
Gather necessary cleaning supplies like a brush, baking soda, and vinegar. Apply the mixture to grout lines. Scrub gently and rinse with water for clean tiles.
Cleaning grout on your kitchen tile floor can seem daunting, but breaking it down into manageable preparation steps can make the process much easier. Before you dive into scrubbing away, taking a few moments to properly prepare can save you time and effort. Let’s explore what you need to do to get ready for a successful grout-cleaning session.Clearing The Area
Start by removing all items from the kitchen floor. This includes furniture, mats, and any movable appliances. Clearing the area ensures you have unobstructed access to the grout lines and prevents any accidental damage to your belongings. It might feel like an extra chore, but having a clear space can make the cleaning process smoother and more efficient.Assessing Grout Condition
Take a close look at the grout lines to determine their condition. Are they merely dusty, or are there stubborn stains that have been there for years? Understanding the state of your grout will help you choose the right cleaning method. You might find areas that need more attention than others, allowing you to focus your efforts where they are most needed. This assessment is crucial in tailoring your approach for the best results.Testing Cleaning Solutions
Before you start scrubbing, test your cleaning solution on a small, inconspicuous area of the grout. This will ensure that the solution doesn’t cause discoloration or damage. You might be surprised how different grout can react to various cleaners. Testing helps you avoid potential mishaps and ensures that the cleaner is effective. Wouldn’t you rather spend a few minutes testing than dealing with unexpected damage?Natural Cleaning Methods
Vinegar and baking soda offer effective solutions for cleaning grout on kitchen tile floors. Mix baking soda with water to form a paste, apply to grout, scrub with a brush, and rinse. For tougher stains, spray vinegar, let sit, scrub gently, then wipe clean.
Cleaning grout on your kitchen tile floor can seem like a daunting task, especially with the stubborn stains that tend to accumulate over time. However, using natural cleaning methods not only helps you avoid harsh chemicals but also ensures a healthier environment for your family. Embrace these eco-friendly solutions, and you might find that keeping your grout sparkling clean is easier than you thought.Baking Soda And Vinegar
Baking soda and vinegar are a dynamic duo in the world of natural cleaning. Start by mixing equal parts baking soda and water to create a paste. Apply this paste generously onto the grout lines. After applying, spray or pour vinegar over the paste-covered grout. You’ll notice a fizzy reaction that helps lift away dirt. Let it sit for about 10-15 minutes before scrubbing with a brush. Once scrubbed, rinse with warm water and admire the refreshed grout. Have you ever thought a simple kitchen ingredient could do such wonders?Lemon Juice And Borax
Lemon juice, known for its natural bleaching properties, paired with borax makes another excellent grout cleaner. Mix two tablespoons of borax with enough lemon juice to form a paste. Spread this mixture onto the grout and let it sit for 10-15 minutes. The acidity of the lemon juice works to break down stains while borax adds a powerful cleaning boost. Scrub the grout with a toothbrush or a grout brush, then rinse thoroughly. This method not only cleans but leaves a fresh citrus scent. Isn’t it amazing how your kitchen can shine and smell fresh with just two simple ingredients?Hydrogen Peroxide Mixture
Hydrogen peroxide is a powerhouse cleaner, especially for tough grout stains. Combine one part hydrogen peroxide with two parts baking soda to form a paste. Apply this mixture to the grout and let it rest for about 10 minutes. As you scrub the grout, you’ll notice the stains lifting effortlessly. Rinse with warm water to reveal cleaner grout lines. Have you considered how these simple mixtures can transform your kitchen floor with minimal effort? Using these natural methods, you can keep your kitchen tile floor looking its best while also caring for the environment. Why not give them a try and see the difference for yourself?Chemical Cleaning Solutions
Effective chemical cleaning solutions can tackle stubborn grout stains on kitchen tile floors. Use a gentle, non-abrasive cleaner to remove dirt and grime without damaging tiles. Regular maintenance ensures a bright and clean kitchen space.
Cleaning grout can transform your kitchen tile floor from grimy to gleaming. Chemical cleaning solutions offer an effective way to tackle stubborn dirt and stains. If you’ve been scrubbing away with little success, these solutions might be your answer. But remember, choosing the right chemical cleaner is crucial to avoid damaging your tiles.Commercial Grout Cleaners
Commercial grout cleaners are specifically formulated to penetrate and lift grime from the porous surface of grout. They’re often available in liquid or spray form and can be found at most home improvement stores. Tip: Look for products labeled as non-acidic to prevent damage to your tiles. To use, apply the cleaner directly to the grout lines. Let it sit for the recommended time—usually 5 to 10 minutes. Then, scrub with a brush to break down the dirt. Rinse thoroughly with water to remove any residue.Bleach-based Solutions
Bleach-based solutions are another potent option for cleaning grout, especially if you’re dealing with mold or mildew. These solutions can whiten and disinfect grout but must be used cautiously. Warning: Bleach can be harsh on colored grout, causing it to fade. Mix one part bleach with four parts water. Apply the mixture to the grout using a sponge or cloth. Allow it to sit for about 15 minutes, then scrub and rinse with water. Ventilate the area well, as bleach fumes can be overwhelming.Using Oxygen Bleach
Oxygen bleach offers a less harsh alternative to chlorine bleach. It’s effective at removing stains and brightening grout without the strong smell. Plus, it’s safer for colored grout. Question: Have you tried using natural solutions and found them lacking? This might be the answer. Prepare the oxygen bleach solution by mixing it with water according to the package instructions. Apply it to the grout and let it sit for about 30 minutes. Scrub the grout lines with a brush and rinse with water. Oxygen bleach is ideal for regular maintenance to keep your grout looking fresh. Choosing the right chemical cleaning solution can make all the difference in your grout-cleaning efforts. Which method will you try first?Deep Cleaning Techniques
Scrubbing grout on kitchen tile floors can be easy. Use a mixture of baking soda and water to form a paste. Apply it to grout lines and scrub gently with a brush. Rinse with warm water for a fresh look.
Regular cleaning prevents grime buildup.
Deep cleaning techniques can transform your kitchen tile floor, making it look as good as new. Over time, grout can become stained and dingy, often requiring more than just a simple mop. It’s essential to use effective methods that target the stubborn grime hiding in your grout lines. Let’s dive into some practical and powerful techniques to help you achieve a sparkling clean kitchen floor.Scrubbing Tools And Techniques
Utilizing the right tools can make a world of difference in cleaning grout. A stiff-bristled brush is your best friend here. It can reach into the crevices and dislodge dirt effectively. Consider using an old toothbrush for smaller areas or a grout brush designed for tougher spots. Combine these tools with a cleaning solution—either a store-bought grout cleaner or a homemade mix of baking soda and vinegar—to lift stains and restore brightness. Have you ever tried scrubbing with a drill brush attachment? This nifty tool can save your wrists from the strain of manual scrubbing and cover larger areas quickly.Steam Cleaning
Steam cleaning offers a chemical-free approach that is both efficient and eco-friendly. The hot steam penetrates into the grout lines, loosening dirt and killing bacteria without harsh chemicals. If you have a steam cleaner at home, try it on your kitchen floor. You might be surprised at how effective it is in lifting grime and revitalizing your tiles. Remember to let the steam do the work; apply it steadily and watch the magic unfold.Power Washing
Power washing might sound intense for indoor use, but it’s surprisingly effective for deep cleaning grout. Using a lower pressure setting can safely clean your kitchen floor without damaging the tiles. This method is particularly useful if you have tough stains that won’t budge with scrubbing or steam cleaning. Ensure you direct the nozzle at an angle to prevent any water from seeping under the tiles. Have you ever considered how much dirt might be hiding in your grout lines? Power washing can reveal a cleaner floor than you imagined.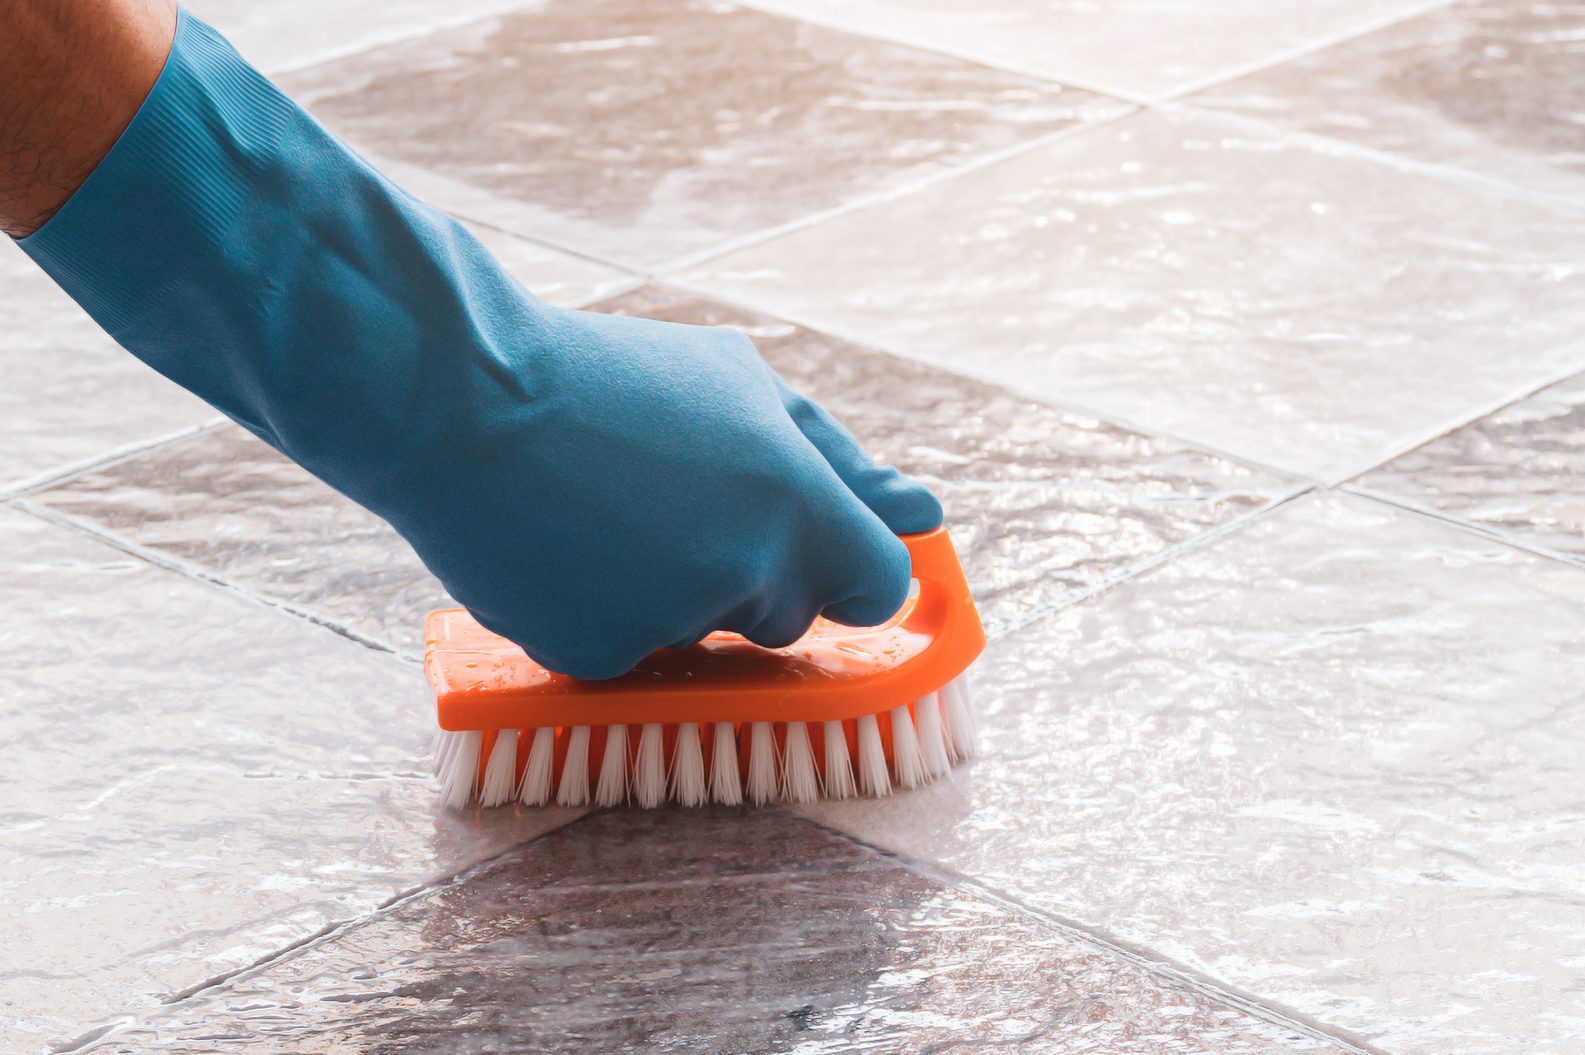
Credit: www.tasteofhome.com
Sealing And Protecting Grout
Grout sealing is crucial for keeping your kitchen tiles in top condition. It acts as a barrier against stains, moisture, and dirt. Without proper sealing, grout can become discolored and damaged. Regular maintenance ensures a clean and appealing kitchen floor.
Types Of Grout Sealers
There are several types of grout sealers available. Penetrating sealers absorb into the grout, offering deep protection. They resist moisture and stains effectively. Surface sealers create a protective layer on top. These are ideal for high-moisture areas. Epoxy sealers provide robust protection and durability. They are best for areas prone to heavy use.
Application Process
Applying grout sealer is straightforward. First, clean the grout thoroughly. Ensure it’s dry before starting. Use a brush or roller to apply the sealer evenly. Focus on covering all grout lines. Let the sealer sit according to instructions. Wipe away excess sealer with a cloth. Ensure the sealer cures for optimal protection.
Maintenance Tips
Regular maintenance keeps grout looking fresh. Clean spills promptly to prevent stains. Use mild cleaning agents to avoid damage. Inspect grout regularly for wear. Reapply sealer every few years. This prolongs grout lifespan and keeps tiles pristine. Avoid harsh chemicals that can erode the sealer.
Preventive Measures
Regular cleaning prevents grime buildup on kitchen floor grout. Use a mixture of baking soda and water. Scrub gently with a brush, then rinse thoroughly.
Preventive measures keep your kitchen tile grout clean and fresh. They reduce the need for deep cleaning. Implementing these measures can save time and effort.Regular Cleaning Routine
Clean your kitchen floor once a week. Use a gentle cleaner and a soft mop. This prevents dirt from settling into the grout. Pay attention to high-traffic areas. A regular routine keeps grime at bay.Minimizing Moisture
Moisture can cause mold and mildew. After mopping, dry the floor with a clean towel. Ensure proper ventilation in your kitchen. Use a fan or open windows to reduce humidity. Dry floors prevent unwanted moisture buildup.Quick Spill Responses
Spills happen in the kitchen. Clean them immediately to avoid stains. Use a damp cloth to wipe the spill. This prevents liquids from soaking into the grout. Quick responses maintain a spotless kitchen floor.
Credit: www.thepaintedhinge.com
Frequently Asked Questions
What Is The Best Way To Clean Grout On A Kitchen Floor?
Use baking soda and vinegar paste to scrub grout effectively. Let it sit for 10 minutes. Rinse thoroughly with warm water, then dry with a clean cloth. Repeat if necessary for stubborn stains. Regular cleaning keeps grout looking fresh and prevents buildup.
What Should You Not Use To Clean Grout?
Avoid using bleach, ammonia, or vinegar to clean grout. These can damage or discolor the grout. Harsh chemicals may also erode the grout over time. Opt for a pH-neutral cleaner to maintain grout integrity. Always test a small area first to ensure compatibility.
Can You Put New Grout On Top Of Old Grout?
Yes, you can apply new grout over old grout. Clean the surface thoroughly before starting. Ensure old grout is not cracked or loose. Use compatible grout types for a lasting finish. Applying new grout enhances appearance and can extend the lifespan of tiled surfaces.
Is Vinegar Or Bleach Better For Cleaning Grout?
Bleach cleans grout effectively by killing mold and mildew. Vinegar is gentler, eco-friendly, and suitable for light cleaning. Choose bleach for deep cleaning and vinegar for routine maintenance. Always test on a small area first.
Conclusion
Cleaning grout can seem tough, but it’s simple with right steps. Regular maintenance keeps grout looking fresh and clean. Use safe products to protect tiles and grout. Tools like brushes make scrubbing easier. Always dry the floor after cleaning to prevent mold.
Try natural solutions like vinegar for eco-friendly options. Avoid harsh chemicals that can damage surfaces. Consistent cleaning helps maintain a healthy kitchen environment. Follow these tips, and enjoy a spotless kitchen floor. A little effort goes a long way in keeping your tiles bright.