How to Repair a Kitchen Sink Sprayer: Quick Solutions
Executive Chef & Lead Commercial Kitchen Specialist at Daily Kitchup Test Lab
A malfunctioning kitchen sink sprayer can be a real annoyance, turning simple tasks into frustrating chores. You’ve probably experienced the splutter of water or the stubborn refusal of the sprayer to work just when you need it most.
But fear not! You’re about to discover how easy it is to repair this essential kitchen tool on your own. Imagine the satisfaction of saving money on a plumber and the convenience of having your kitchen back in perfect working order.
As you read on, you’ll uncover simple, step-by-step instructions designed to empower you with the confidence and know-how to tackle this common issue. So, let’s dive in and get your kitchen sink sprayer working like new again!
Common Sprayer Problems
Common sprayer problems often include leaks, clogging, or reduced water pressure. Fixing a kitchen sink sprayer involves checking seals, cleaning nozzles, and ensuring proper connections. Regular maintenance can prevent issues and prolong the sprayer’s functionality.
Repairing a kitchen sink sprayer might seem daunting, but understanding common issues can make the task more approachable. Whether you’re dealing with low water pressure or a leaking nozzle, identifying the problem is half the battle. Once you know what’s wrong, you’ll find that solutions are often simpler than expected. Let’s dive into some common sprayer problems and how you can fix them.Low Water Pressure
Low water pressure in your sprayer can be frustrating. It can turn a quick rinse into a slow chore. Check if the issue is with the sprayer alone or the entire faucet. If it’s just the sprayer, debris might be clogging the nozzle. Clean the nozzle by unscrewing it and rinsing it under warm water. Use a toothpick or a small brush to remove any blockages. Sometimes, the issue might be with the hose. Inspect it for kinks and straighten them out.Leaking Nozzle
A leaking nozzle can waste water and increase your bill. It often results from worn-out washers or seals. Replace them by disassembling the nozzle and fitting new washers. Don’t forget to check the connections between the hose and the sprayer. Tighten any loose fittings and replace damaged parts. If you notice persistent leaks, consider getting a new sprayer head.Stuck Spray Head
A spray head that won’t retract can disrupt your kitchen workflow. This is usually due to a tangled hose or a blockage. Pull out the hose fully and inspect for knots or tangles. Untangle them and apply a little lubricant to ease movement. If the spray head remains stuck, there might be an internal blockage. Disassemble and clean the spray head carefully.Diverter Valve Issues
A malfunctioning diverter valve can prevent water from flowing to the sprayer. This valve directs water between the main faucet and the sprayer. If you’re experiencing reduced flow to your sprayer, the diverter might be clogged. Remove the valve and clean it using vinegar to dissolve mineral deposits. If cleaning doesn’t help, replacing the valve might be necessary. Are these problems plaguing your kitchen sink sprayer? Tackling them can save you from unnecessary frustration. Remember, a little maintenance can go a long way in ensuring your sprayer operates smoothly.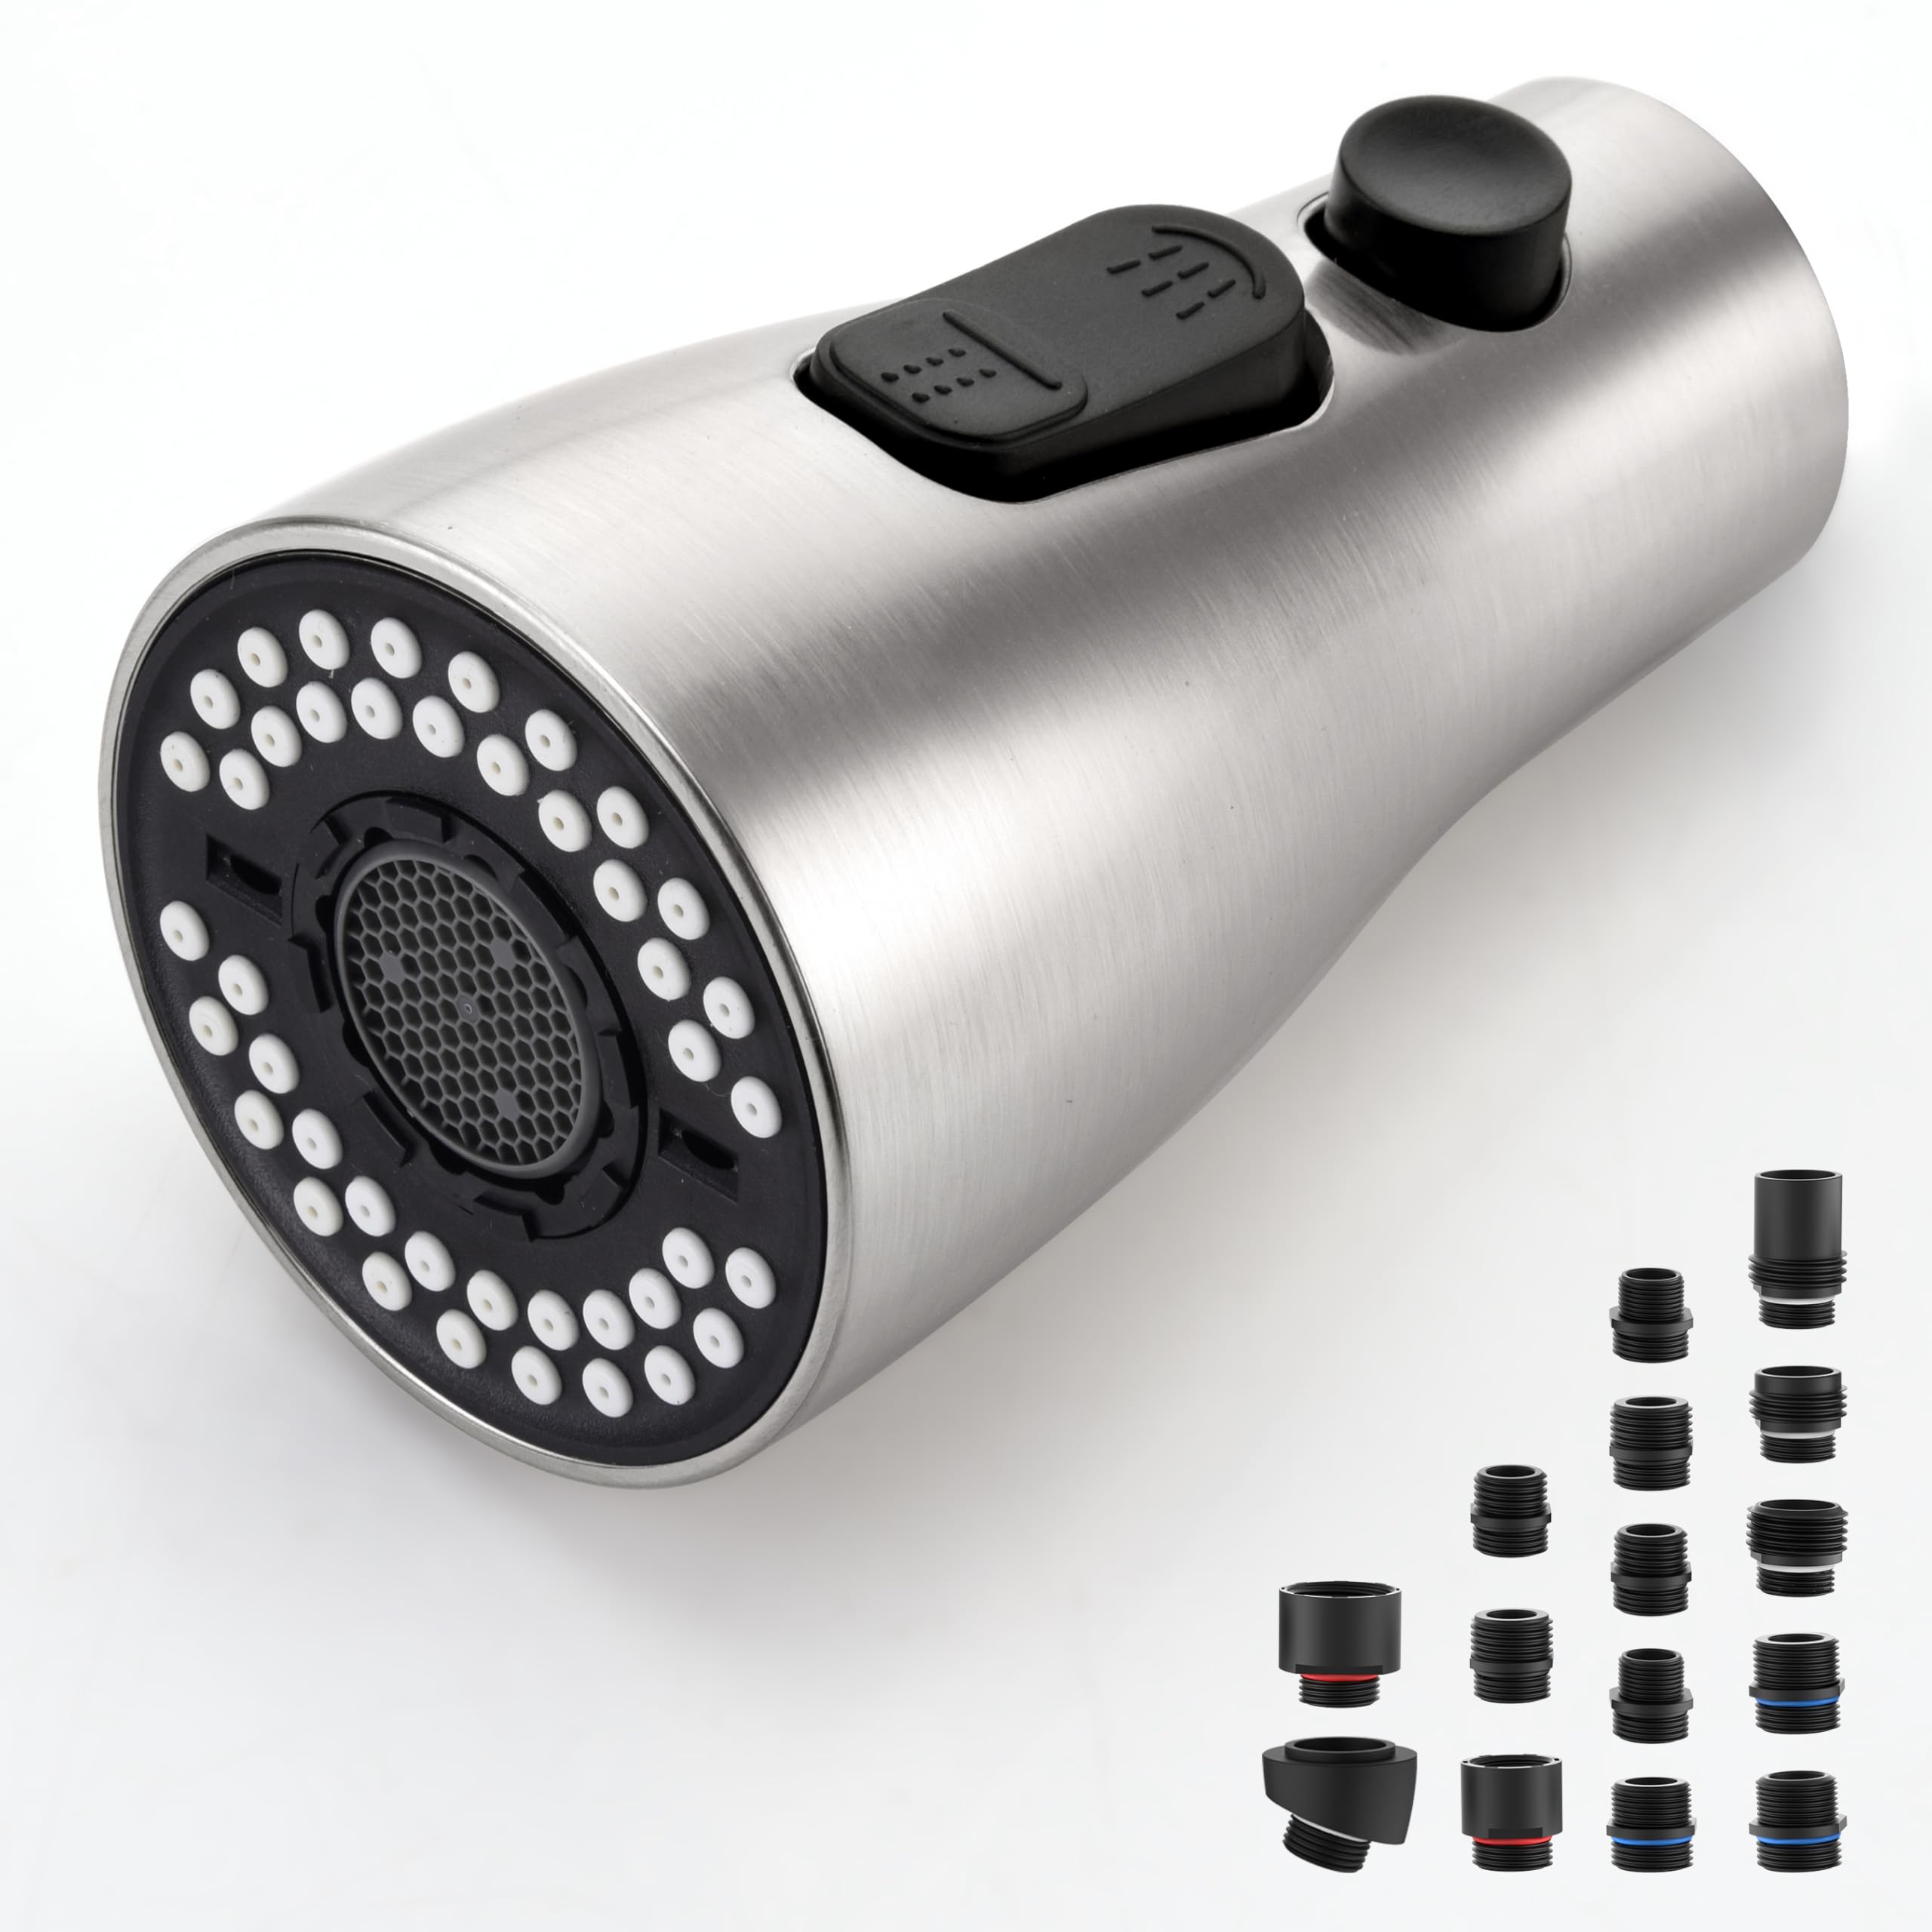
Credit: www.amazon.com
Essential Tools And Materials
Repairing a kitchen sink sprayer might seem daunting, but with the right tools and materials, it becomes manageable. Having the correct equipment ensures a smooth repair process, saving both time and effort. Let’s delve into the essential tools and materials needed for this task.
Basic Tools
Start with gathering basic tools which are crucial for repair. These include:
- Screwdriver: Useful for removing screws and fittings.
- Adjustable wrench: Helps in loosening and tightening nuts.
- Pliers: Handy for gripping and twisting components.
Replacement Parts
Keep replacement parts ready to swap out any faulty components. Consider having:
- Sprayer head: Replace if the current one is leaking or damaged.
- Hose: Necessary if the old hose is cracked or worn out.
- Washers: These seal connections and prevent leaks.
Cleaning Supplies
Cleaning supplies are essential for maintaining hygiene and performance. Gather:
- Vinegar: Effective in removing mineral deposits.
- Brush: Useful for scrubbing away grime.
- Cloth: Perfect for wiping surfaces clean.
Troubleshooting Techniques
Experiencing issues with your kitchen sink sprayer can be frustrating, especially when you’re in the middle of cooking or cleaning. Luckily, many problems can be resolved with some basic troubleshooting techniques. Let’s explore how you can get your sprayer back to working order without calling a professional.
Checking Water Supply
First things first, ensure that the water supply to your sprayer is sufficient. A common reason for malfunctioning sprayers is inadequate water pressure. Check the water valves under the sink. Are they fully open? Sometimes, during cleaning, these valves are accidentally closed or partially shut. Adjust them to guarantee full water flow.
Have you ever noticed your sprayer working perfectly in the morning but fading by afternoon? It could be a fluctuating water supply. Check other faucets in your home to see if the issue is widespread. This might indicate a larger plumbing problem.
Inspecting For Clogs
Clogs can be another culprit. Over time, debris and mineral deposits build up, restricting water flow. To check for clogs, remove the sprayer head. Look inside for any visible blockages.
Did you know that vinegar can be a lifesaver? Soak the sprayer head in vinegar overnight to dissolve mineral deposits. This simple trick can restore your sprayer’s functionality without expensive chemicals.
Examining The Hose
The hose is often overlooked, yet it can be a significant source of issues. Inspect it for twists or kinks that might obstruct water flow. Straighten out any bends to see if that improves performance.
Additionally, check for leaks. A leaking hose can dramatically reduce pressure. Run your fingers along the hose while the sprayer is on to feel for any wet spots. If leaks are found, replacing the hose might be necessary.
By considering these troubleshooting techniques, you’re empowering yourself to handle minor repairs. Have you ever fixed a sprayer yourself? Share your experiences or tips, and let’s help each other tackle these pesky kitchen problems!

Credit: www.leoalmanac.org
Fixing Low Water Pressure
Repairing a kitchen sink sprayer with low water pressure involves checking the hose for kinks and blockages. Clean or replace the aerator to ensure smooth water flow. Inspect the diverter valve for debris that may obstruct water pressure.
Fixing low water pressure in your kitchen sink sprayer can be simple. Low pressure disrupts washing dishes and rinsing vegetables. Common culprits include a clogged aerator or a faulty diverter. Let’s explore easy fixes to restore water flow.Cleaning The Aerator
Low pressure often means a blocked aerator. The aerator screens out debris and mineral build-up. To clean it, unscrew the aerator from the faucet tip. Use pliers if it’s tight. Rinse it under running water to remove debris. Soak it in vinegar to dissolve mineral deposits. Rinse again and reattach to the faucet. This should improve your water flow.Replacing The Diverter
A broken diverter can also cause low pressure. The diverter directs water to the sprayer when needed. First, turn off the water supply. Remove the faucet handle and spout to access the diverter. Look for a small valve inside the faucet body. Check for wear or damage. If damaged, replace it with a new diverter. Reassemble the faucet and turn on the water. Your sprayer should now work better.Repairing A Leaking Nozzle
Repairing a leaking nozzle on a kitchen sink sprayer is simple. Start by turning off the water supply. Remove the sprayer head and check for worn-out washers or seals. Replace any damaged parts, reassemble the sprayer, and test for leaks.
Repairing a kitchen sink sprayer can be simple. A leaking nozzle is a common issue. It leads to water wastage and mess. Fixing it involves two main steps. Tightening connections and replacing O-rings. Let’s explore these steps to fix the leak effectively.Tightening Connections
Loose connections cause leaks in the sprayer nozzle. Check all connections first. Use a wrench to tighten them. Ensure not to over-tighten. This may damage the parts. Tightening usually stops minor leaks.Replacing O-rings
Worn-out O-rings often cause leaks. They are rubber seals in the sprayer. First, turn off the water supply. Then, remove the nozzle. Inspect the O-rings carefully. If they are cracked or worn, replace them. Purchase the right size O-rings. Install them in the correct position. Reattach the nozzle firmly. Turn on the water to check for leaks. Repairing a leaking nozzle is straightforward. Follow these steps for a quick fix. Enjoy a leak-free kitchen sink sprayer.Unsticking The Spray Head
The kitchen sink sprayer is a handy tool. But, it can become stubborn. A stuck spray head disrupts your kitchen routine. Fortunately, fixing it is simple. Unstick it without calling a plumber. Let’s explore some effective techniques.
Lubricating Moving Parts
First, turn off the water supply. This prevents any mess. Next, remove the spray head. Examine for any visible debris. Use a soft brush to clean it. Once clean, apply a silicone-based lubricant. This helps the spray head move freely. Ensure you cover all moving parts. Reattach the spray head. Test the sprayer to check improvements.
Adjusting The Spray Setting
Sometimes, the spray setting causes issues. Check the spray head’s adjustable settings. Locate the adjustment ring or switch. Turn or slide it to different settings. Try each setting to see if it unsticks. This simple tweak often resolves the issue. Remember, patience and testing are key.
Replacing The Diverter Valve
Replacing the diverter valve can restore the functionality of a kitchen sink sprayer. Begin by turning off the water supply. Remove the faucet spout to access the diverter valve, then replace it with a new one.
Replacing the diverter valve is an essential task for a smooth kitchen sink sprayer operation. This small component directs water flow between the faucet and sprayer. A malfunctioning valve can cause irregular water flow or a non-working sprayer. Understanding how to replace it helps you maintain kitchen efficiency. Follow these simple steps to ensure your sprayer works flawlessly.Identifying Diverter Location
First, locate the diverter valve. It usually sits inside the faucet body. Check your faucet manual for precise positioning. Valves can vary between models. Look beneath the faucet spout or under the handle. Ensure water supply is off before inspection. This prevents any potential water mess.Removing The Old Valve
Once identified, remove the old valve. Use a wrench to loosen surrounding components. Carefully detach the valve from its housing. Check for any build-up or debris. Clean the area to ensure a smooth installation later. Handle the valve gently to avoid damaging other parts.Installing A New Valve
Install the new diverter valve by placing it in the original spot. Align it properly within the housing. Secure it tightly using the wrench. Ensure all components fit snugly. Turn the water supply back on. Test the sprayer to confirm proper water flow. Adjust if necessary to achieve optimal performance.
Credit: www.amazon.ca
Preventive Maintenance Tips
Fixing a kitchen sink sprayer can be simple with regular checks for leaks or clogs. Clean the nozzle with vinegar to remove mineral buildup. Ensure all connections are tight to prevent leaks. Regular maintenance keeps your sprayer working efficiently and extends its lifespan.
Maintaining your kitchen sink sprayer can save time and money. Regular care prevents issues and extends its lifespan. Follow these preventive maintenance tips to keep your sprayer in top shape.Regular Cleaning
Clean your sink sprayer weekly. Wipe the nozzle with a damp cloth. Use a toothbrush to scrub away debris. Ensure the holes are clear to maintain water flow. A clean sprayer works efficiently and lasts longer.Routine Inspections
Inspect the sprayer for leaks or damage monthly. Check the hose for cracks or wear. Ensure the connections are tight and secure. Early detection prevents bigger problems. Replace worn parts promptly to avoid issues.Avoiding Harsh Chemicals
Use mild soap and water for cleaning. Harsh chemicals can damage parts. Vinegar works well for mineral deposits. Rinse thoroughly after cleaning. This keeps the sprayer in good condition and safe to use.Frequently Asked Questions
How Do I Fix My Kitchen Sink Sprayer?
To fix a kitchen sink sprayer, check for blockages and clean the nozzle. Replace damaged washers or seals. Ensure hose connections are tight. If the sprayer still leaks or doesn’t work, consider replacing the entire unit. Regular maintenance prevents future issues and ensures optimal performance.
Can You Just Replace The Sprayer On A Kitchen Faucet?
Yes, you can replace the sprayer on a kitchen faucet. Ensure compatibility with your faucet model. Turn off the water supply before starting. Remove the old sprayer by unscrewing it. Attach the new sprayer and secure it tightly. Turn the water back on and check for leaks.
How To Replace A Sink Sprayer Diverter?
Turn off the water supply and remove the faucet handle. Take out the diverter using a wrench. Install the new diverter and reassemble the faucet. Ensure everything is tightly secured. Turn the water back on and test the sprayer for functionality.
How Do I Know If My Kitchen Faucet Diverter Is Bad?
Check for low water pressure or inconsistent flow from the faucet. Water not diverting to the sprayer indicates a faulty diverter.
Conclusion
Repairing a kitchen sink sprayer is straightforward with the right steps. First, identify the problem. Is it leaking? Clogged? Each issue has a solution. Gather simple tools like pliers, a wrench, and a screwdriver. Follow the instructions carefully. Replace damaged parts if needed.
Test the sprayer after fixing. Ensure it sprays smoothly. A well-maintained sprayer lasts longer. Regular checks prevent future problems. Enjoy a functional kitchen sink sprayer. Save money on professional repairs. Feel accomplished with your DIY skills. Remember, patience is key.
Happy fixing!

Similar Posts





















